
Subaru Forester Camper: How We Turned Our Car into the Ultimate Road Trip Vehicle

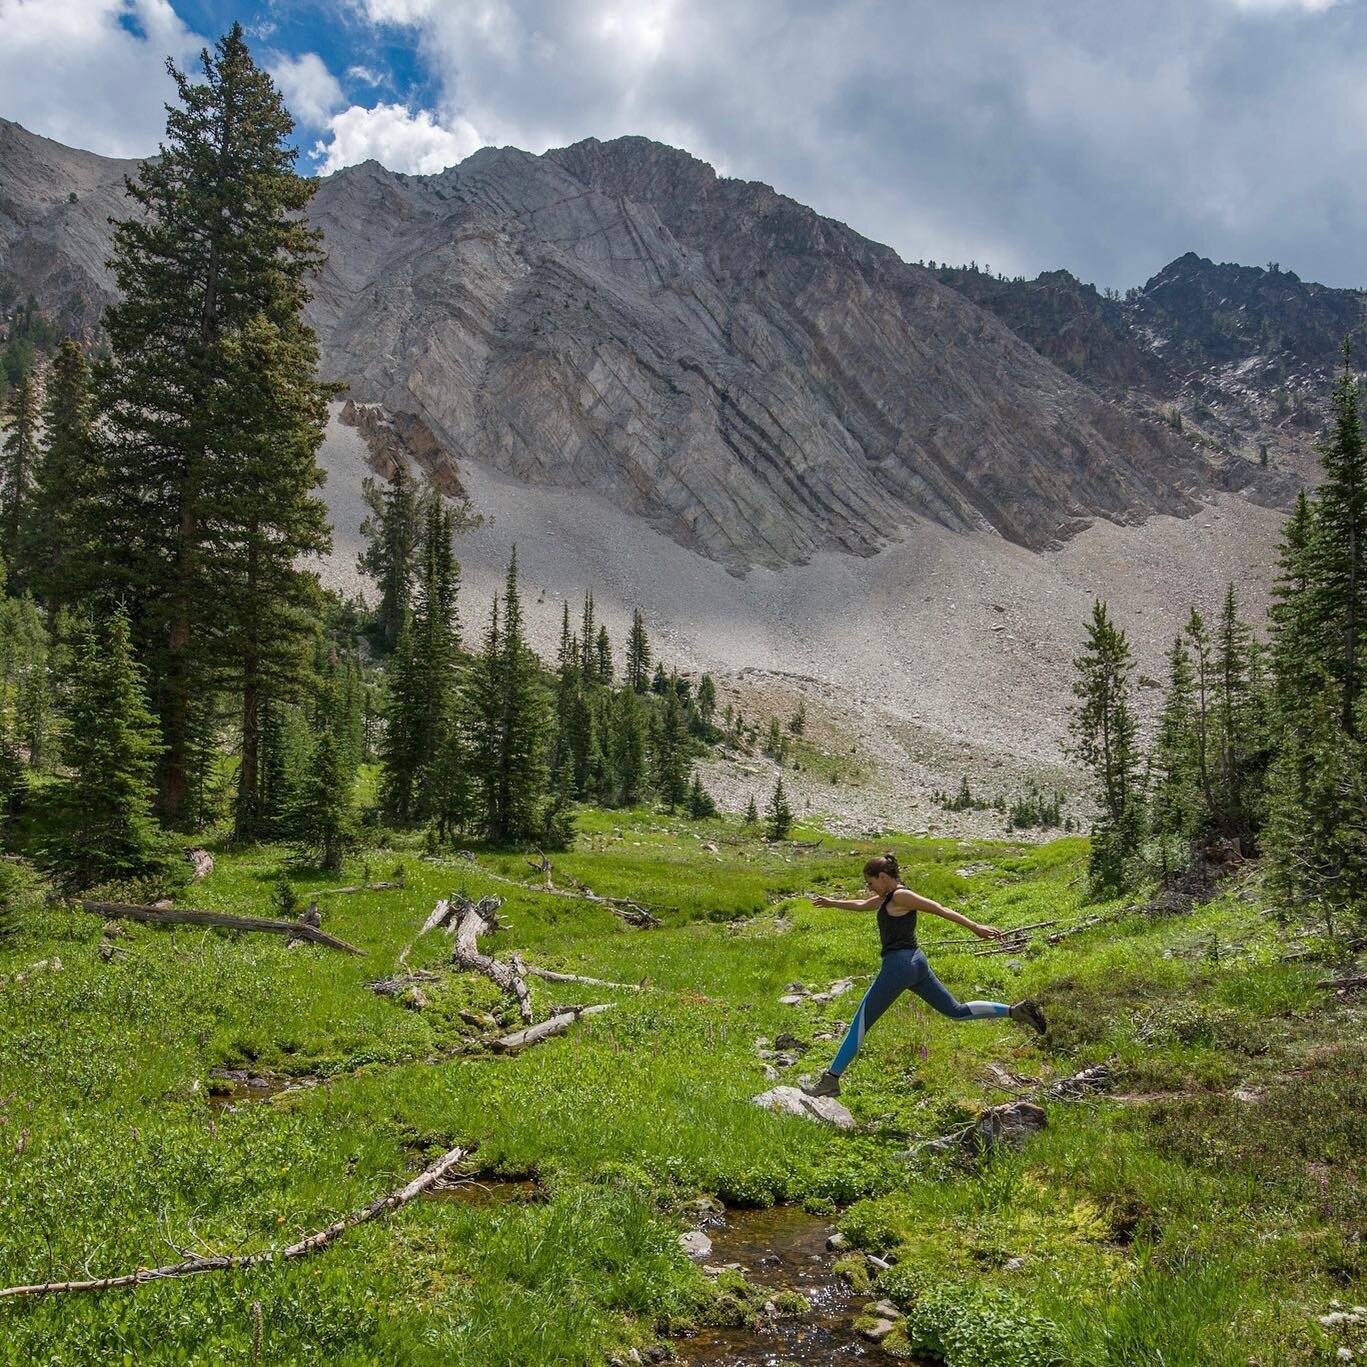
The idea was planted several years ago when we met a couple road tripping through East Africa with a rooftop tent perched atop their Land Rover. We never stopped talking about it – the possibility of exploring off the beaten path and setting up camp wherever we wanted was too enticing. So while it seemed like everyone we knew was converting a camper van and loving that #vanlife, we went another route: We turned our daily driver into an awesome overland vehicle!
Here’s how we built our Subaru Forester camper from stock into a road trip machine:
Step 1: Buy a used Subaru.

We went with a 2009 Subaru Forester Limited Edition. Our research told us that the transmission in newer Foresters doesn’t handle offroading as well, and older ones weren’t as roomy inside. (Of course, your road trip vehicle doesn’t have to be a Forester, or even a Subaru. If you’re not in a place to buy a car, use what you have! You’d be surprised how far you can get with a little creativity.) The key to getting a good deal? Patience and skimming Craigslist while you’re watching Netflix.
Cost: $6,000 (thanks Craigslist!)
Step 2: Invest in a rooftop tent.
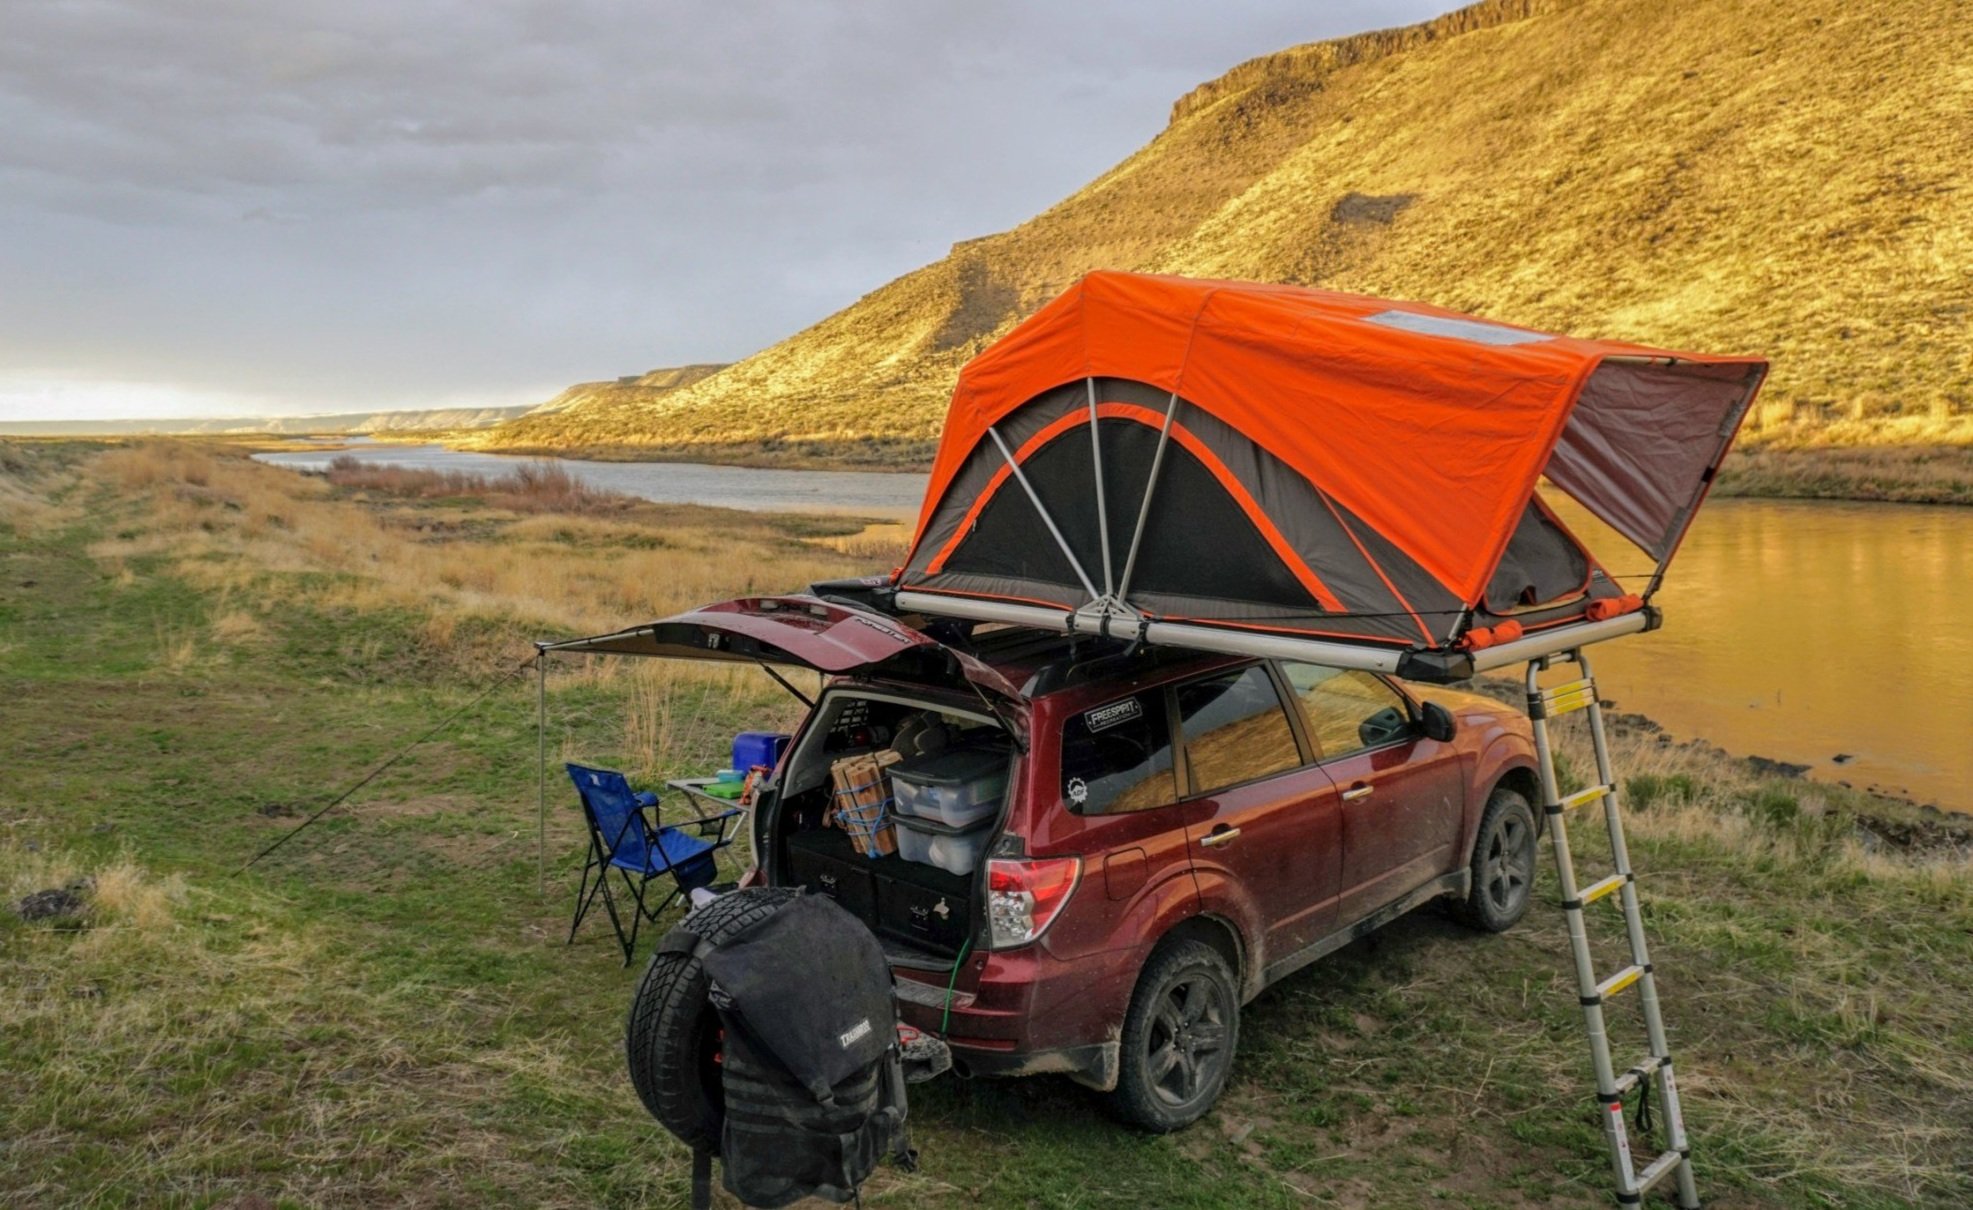
I love to camp and spend time in nature, but wrestling with tent poles and sleeping on the ground every just night isn’t my idea of fun. Getting a rooftop tent took all the worst parts out of camping! Nowadays we sleep like babies on a memory foam mattress, and we never have to utter the words “Where are the tent stakes?!”
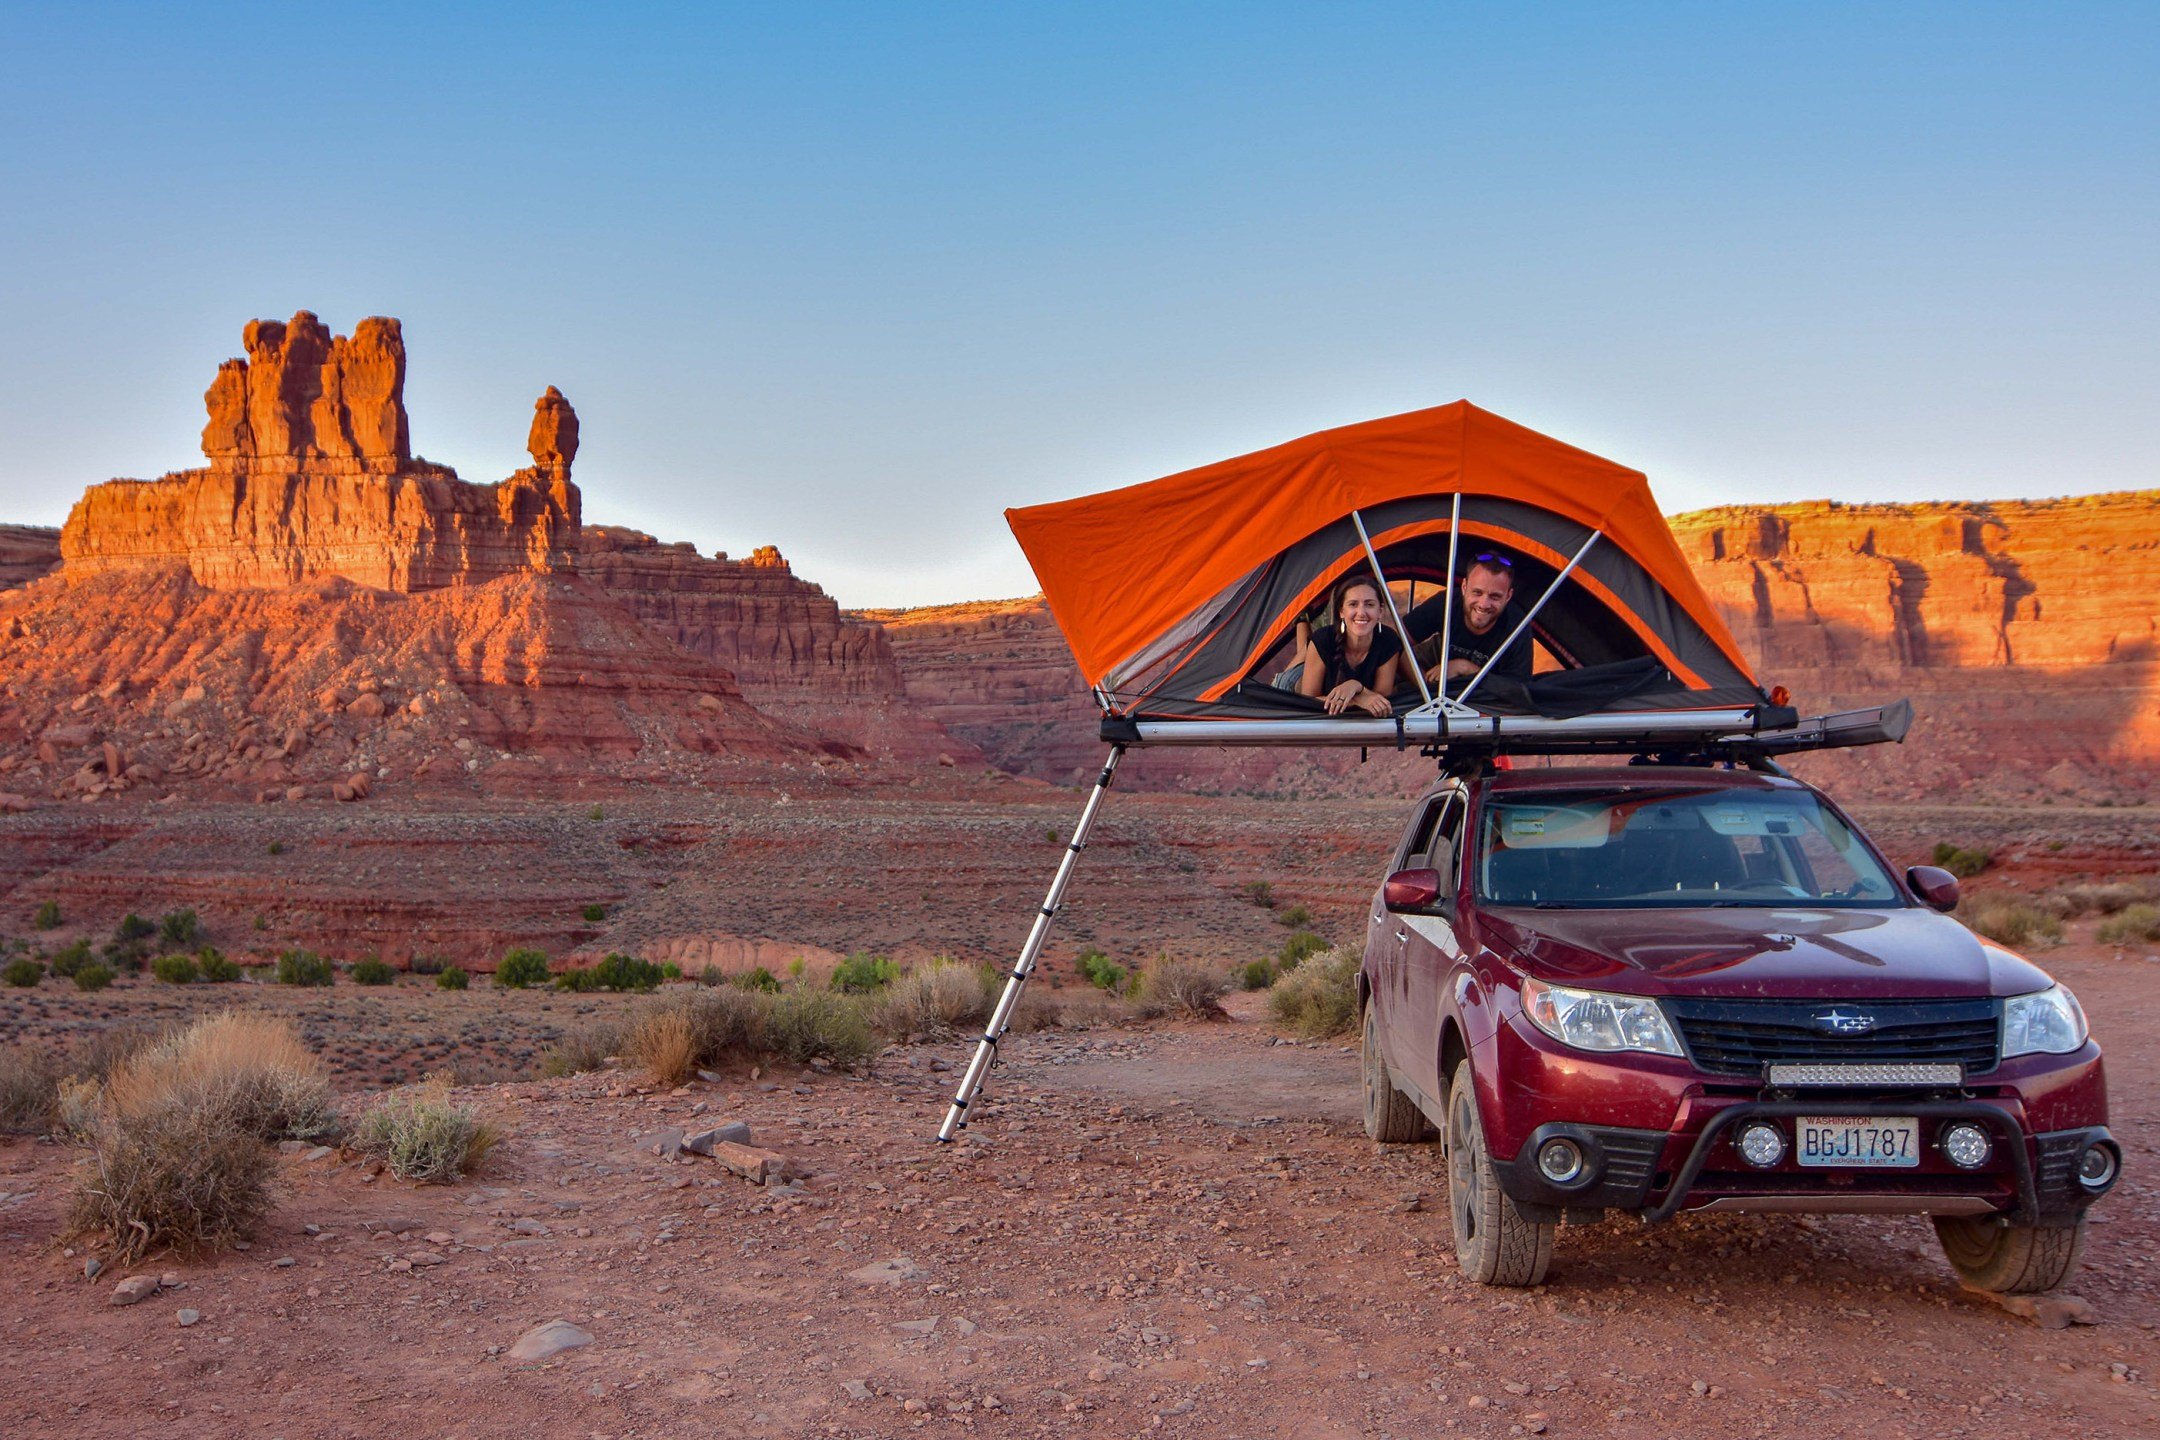
We went with the High Country 55-inch rooftop tent from Freespirit Recreation. It clamps onto our Subaru’s roof rack and takes less than two minutes to set up – just remove the cover and unfold it by pulling on the ladder. It sleeps three people (though ours usually only houses two plus a dog).

If you happen to be in the Pacific Northwest, we highly recommend visiting the folks at Freespirit Recreation. We stopped by their warehouse in Bend, Oregon and the awesome guys there helped us install our new tent, walked us through all its special features, and gave us some insider tips (plus our pup had a blast running around the warehouse!)
Our particular tent will fit on any Subaru that has roof rails (and most other SUVs, trucks, and station wagons as well). There are plenty of other options for rooftop tents – Cascadia Vehicle Tents, Tepui, and Yakima are popular ones. I know, the price tag sounds steep at first. I was reluctant originally but I’m a total convert now. We’ve spent more nights out camping now that we have a rooftop tent than we did in all the years before combined!
Cost: $1795 (Give or take. You can get a rooftop tent for as little as a grand, or shell out several thousand dollars for the fanciest ones. In our experience, you get what you pay for.)
Step 3: Get all-terrain tires
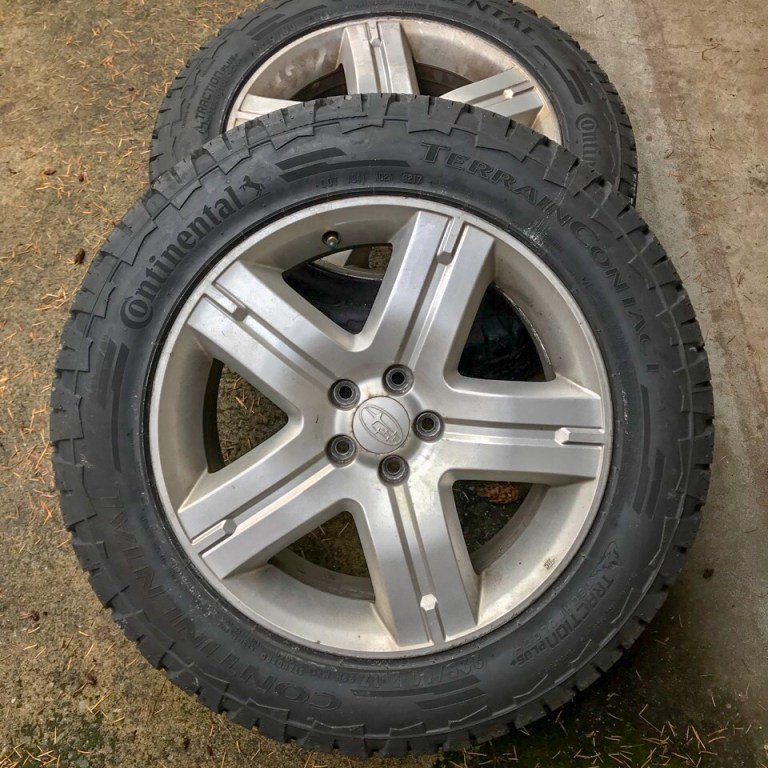
This is where the rubber literally hits the road. If you’re planning to take your road trip vehicle offroading at all, it’s important to invest in the proper tires. Otherwise you’ll be hiking to get cell service so you can call a tow truck to save your tail.
If you can only afford one modification to make your Subaru Forester camper more capable, this is it. We chose Continental TerrainContact AT’s (our tire size 225/60r17) and we put them on our stock 17-inch Subaru wheels.
Cost: $1,000 for five tires from Discount Tire (gotta have a full-size spare!)
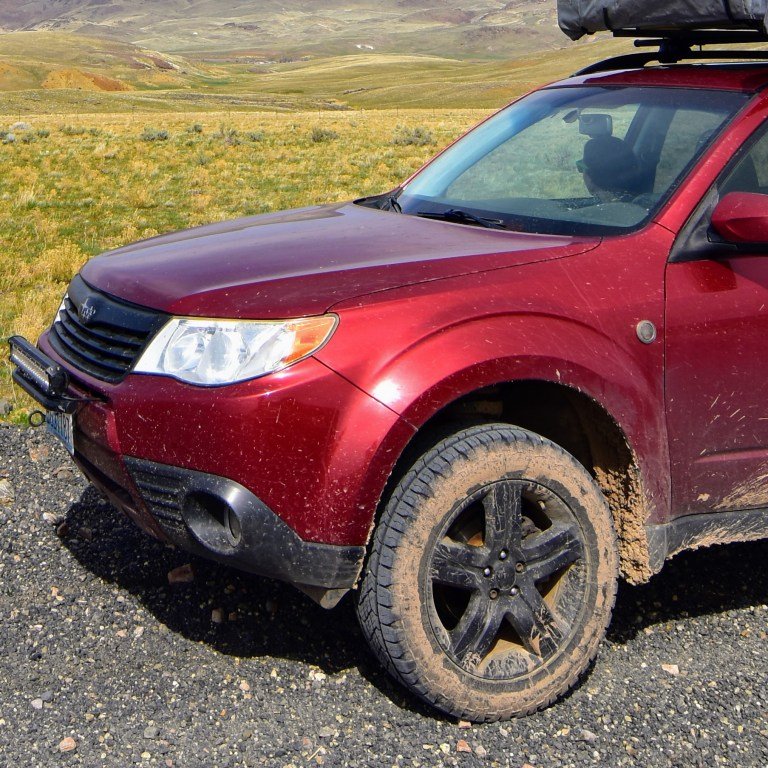
Step 4: Install a lift kit and heavy-duty springs
This isn’t absolutely essential, but we wanted to make our Subaru Forester camper as offroad capable as possible. Lifting the car gives us more ground clearance – which for our purposes basically means we can drive over bigger rocks and and through deeper puddles. Our Subaru is lifted 2 inches in the front and 2.5 inches in the rear. We also installed heavy-duty rear springs (King KSRS-56) that allow us to carry more weight without the vehicle sagging.

Any reputable auto shop should be able to lift your car for you, but if you have the skills you can definitely save some money by doing it yourself! Our lift kit came from Anderson Design and Fabrication. On top of the well-made kit, we love them because they’re always happy to answer Aaron’s technical questions and offer expert advice.
Cost: $500 (Just for the kit – Aaron installed it himself right in our driveway!)
Step 5: Organize the cargo area.
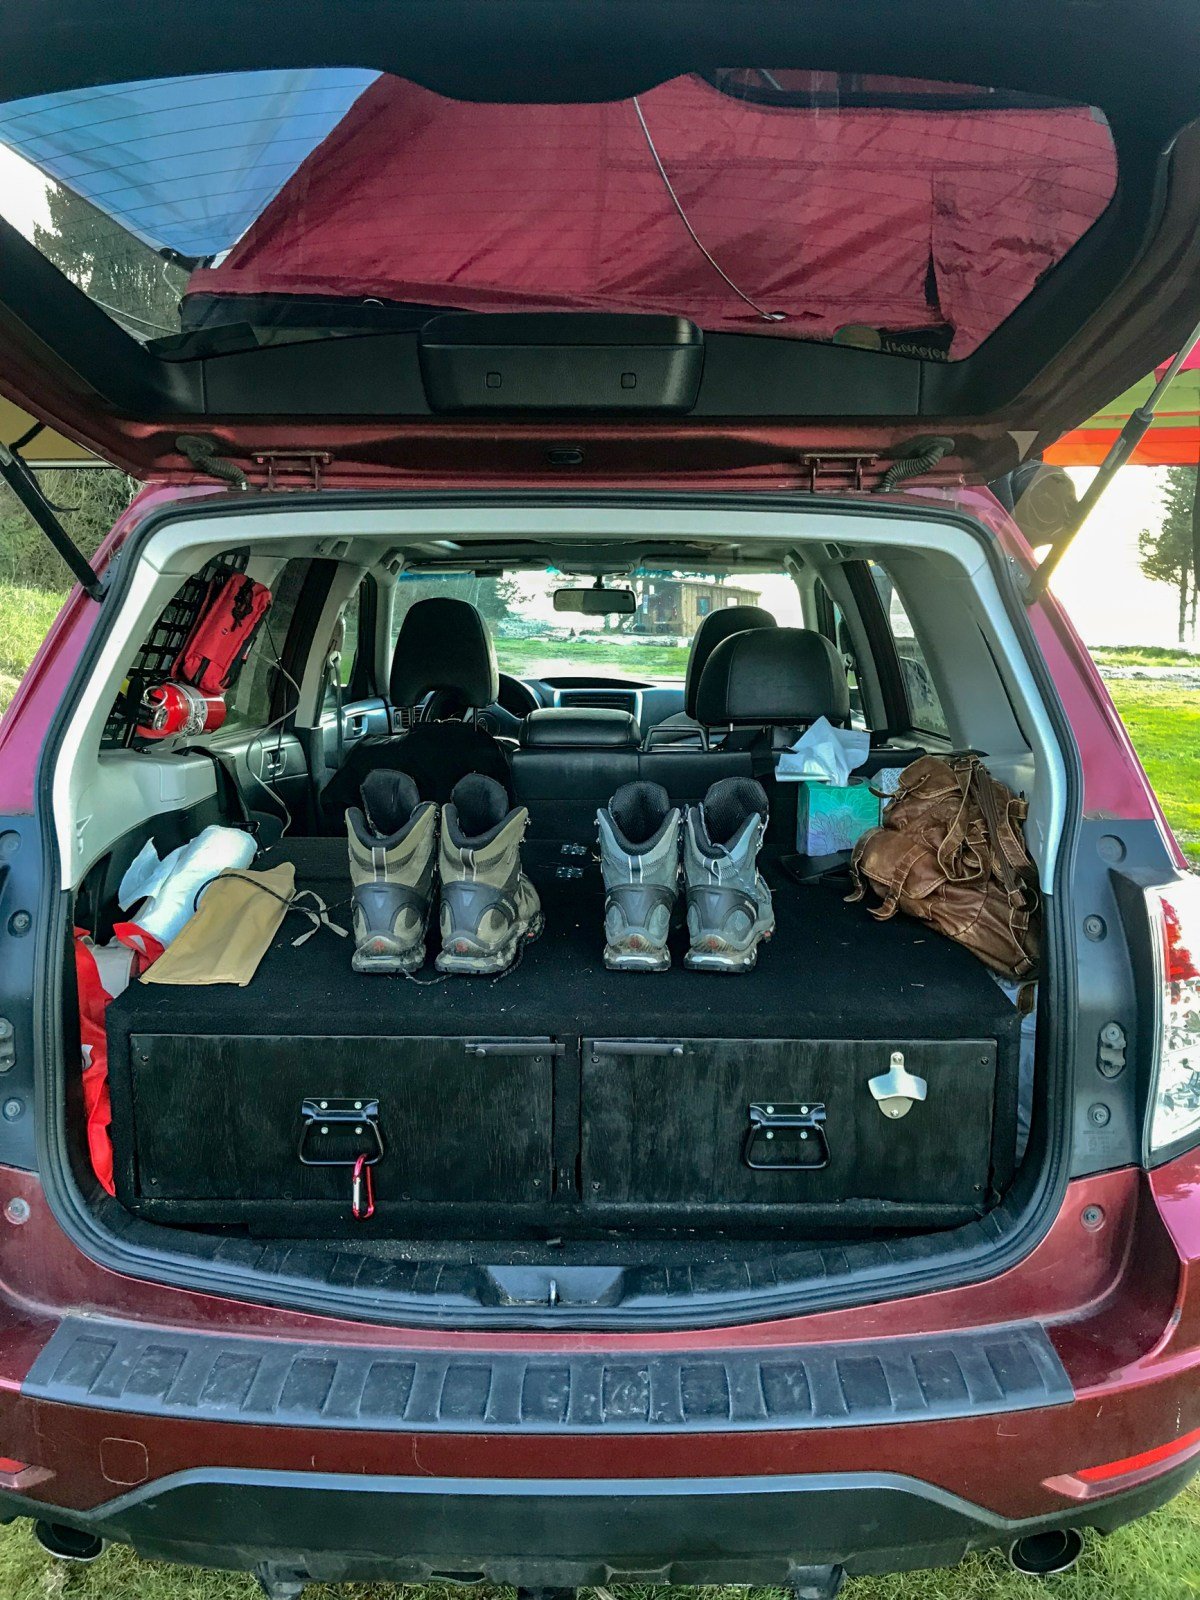
It’s amazing how fast the cargo area can turn into a chaotic mountain of clothes and camping supplies. If you’re an organizer like me, you need a system! Aaron custom-built our drawers using materials we had sitting in our garage after our home renovation and a quick trip to Home Depot – scrap plywood, drawer slides, outdoor carpeting, and a few pieces of hardware. You could just as easily pick up a few stackable containers from your local Target – it doesn’t have to be pretty or expensive, it just has to keep you organized!
Cost: $70
Step 6: Hook up a second car battery and inverter.
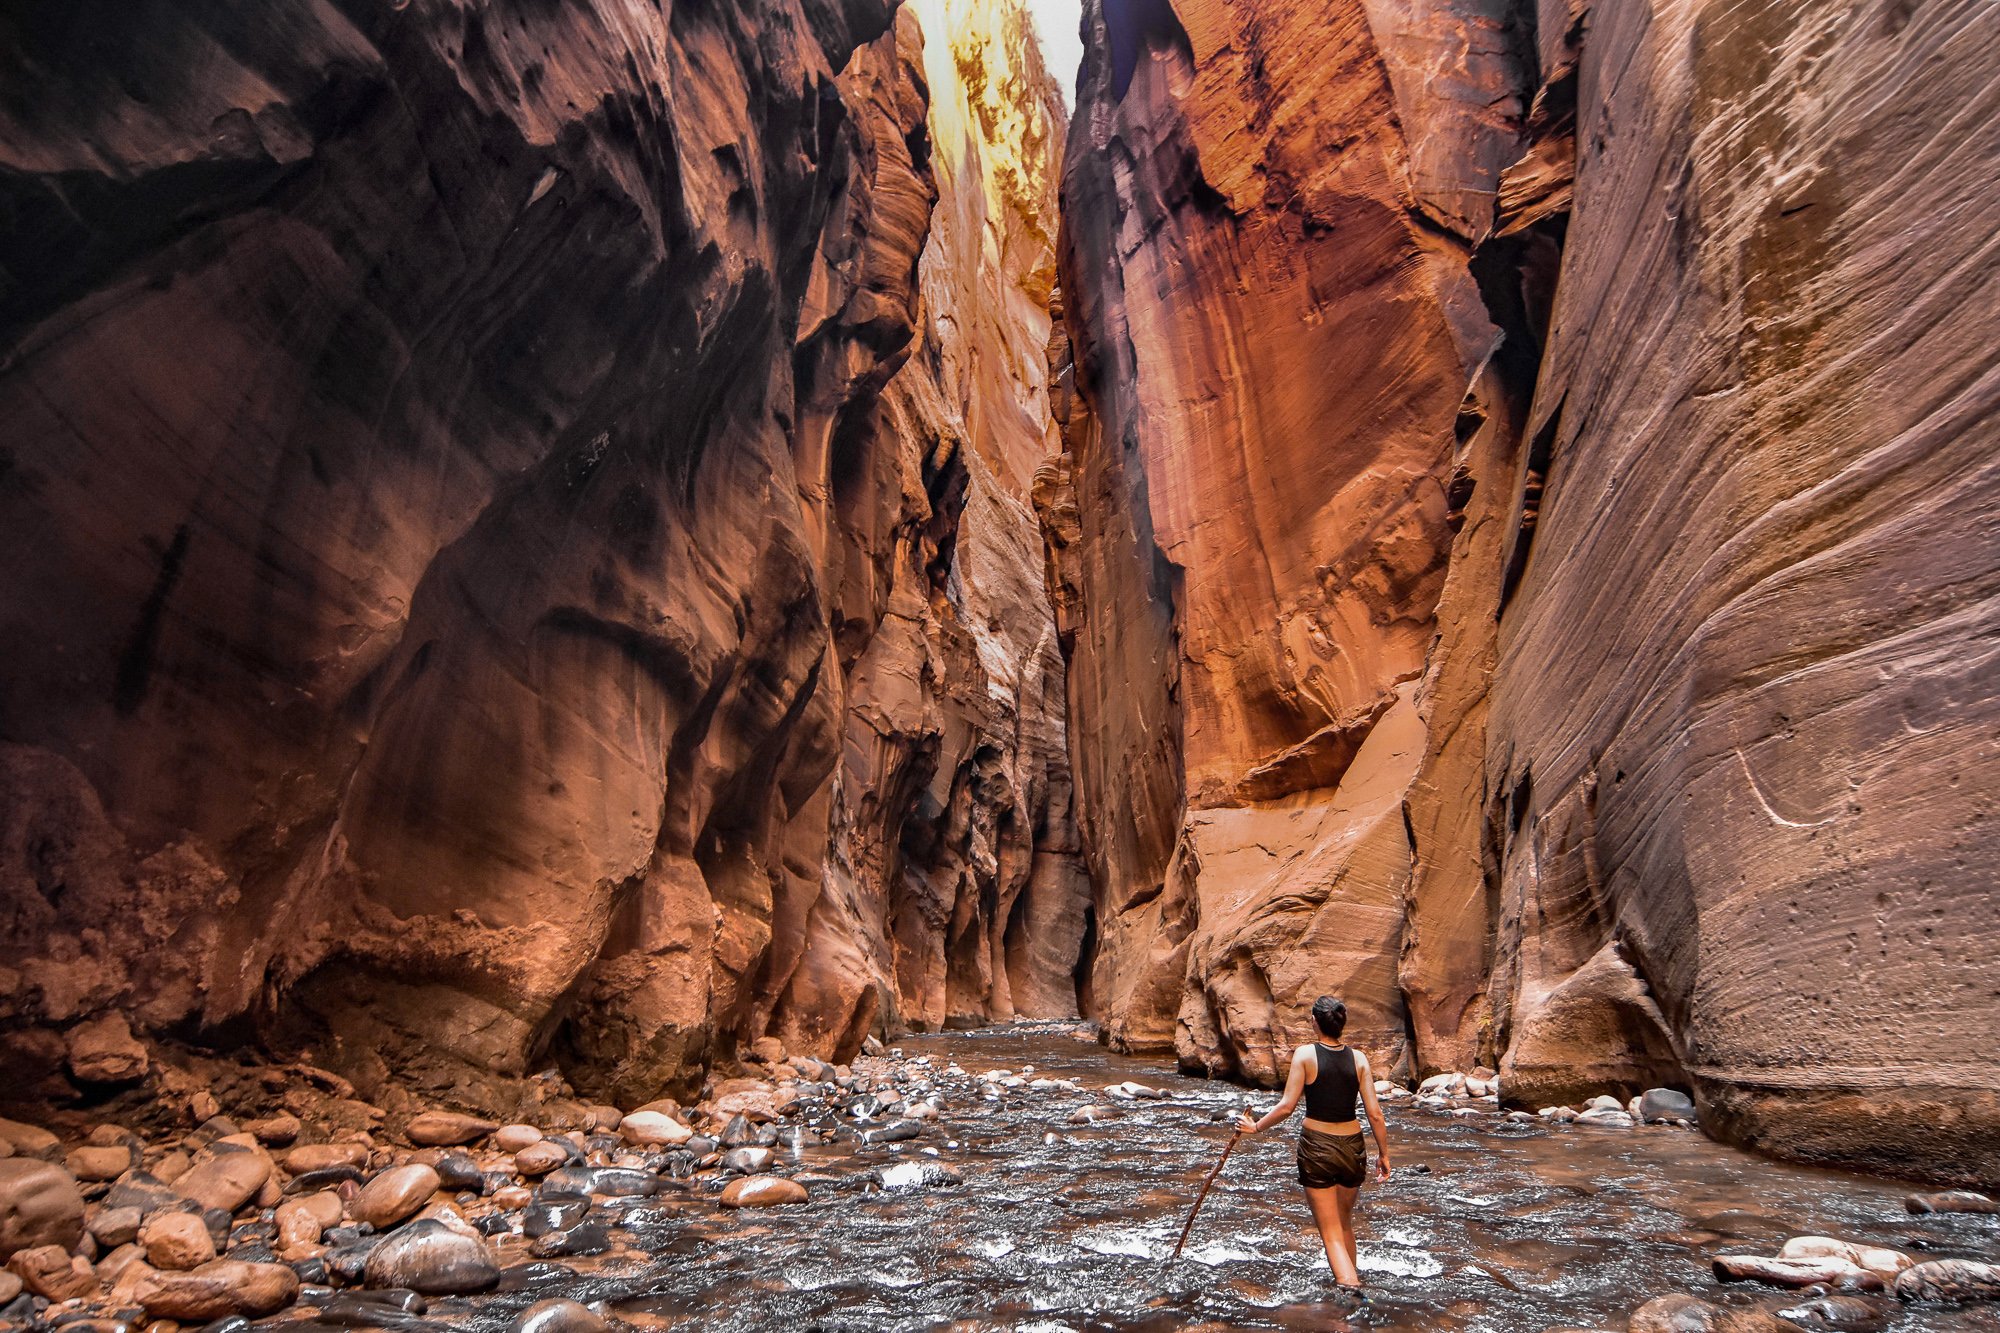
Again, this isn’t absolutely necessary, but it’s definitely a perk! Having an extra battery extends both how long you can stay out on any given trip, and the seasons in which you can comfortably camp. We use ours to power our campsite lights, heated mattress pad during the winter, and a cooler for food during the summer. (And having cold beer on hand after a scorching day hiking the Zion Narrows didn’t hurt either!)
Disclaimer: Only attempt this if you’re very knowledgeable about automotive wiring! Otherwise, this is a job for your mechanic (or an expert friend who’s willing to help you out - Get in touch with us if you’re in the Pacific Northwest). Our second battery is hidden away in a compartment behind the back seats. It charges while the car is driving, and only after the main car battery is fully charged. We also installed an inverter, so we can hook up regular household electronics like our laptops.
Cost: $50 for the battery (thanks again, Craigslist!) and $70 for the inverter
Step 7: Upgrade as much as you want to.
How offroad are you planning to go? We like to get way off the beaten path so we wanted to make sure our Forester could handle as much as possible. On top of all the previous modifications, Aaron also installed:

Our home-made skid plate
>> Offroad lights, which help if you’re driving in a sketchy place in serious darkness.
>> A skid plate, which protects the engine and the car’s undercarriage from damage by rocks and debris. Aaron made ours out of a discarded aluminum road sign.
>> A spare tire holder, to free up room in the cargo area for supplies (ours also holds our trash bag and gas can). Trailer hitches don’t come standard on Subarus, but ours happened to have one (you can get one installed at any Uhaul or roof rack company). Once you have the hitch, you’re in the market for a trailer hitch-mounted spare tire holder. Wilco Offroad makes them, but we didn’t want to shell out $600 for one – and fortunately Aaron knew a guy. If you’re in the Seattle area and you’re interested in having one made for your offroad vehicle, email us and we’ll hook you up (EDIT: he has since stopped making these because he is too busy with his day job). Recently, another company called RIGd Supply has started making really nice hitch mounted spare tire carriers. You can check them out here.
>> Stay organized! Aaron uses the Auto Mod List app to keep track of all our modifications. It lets us track all the work we’ve done, alongside photos and a budget.

Step 8: Make your Subaru Forester Camper home
We spend weeks at a time road tripping in our souped-up Forester, so we want to make it feel as much like home as possible. As soon as our rooftop tent is unfolded, here’s how we set up camp:
• Awning attached to our roof rack to give us shelter from rain and sun (ours is from ARB)
• LED string lights to put up around our awning
• Kitchen table and camp chairs
• Camp stove and knife set
• A cooler for food, powered by our backup battery. You can shell out for super fancy ones, but our basic one keeps everything 40°F cooler than the ambient temperature.
• 100-watt solar panels to keep our spare battery topped off on days when we don’t do much driving
• Water container with a spigot because the last thing you want to do is run out of water (and also when you travel with a nurse I make you wash your hands all the time).
• A Trasharoo so you don’t have to share the car with your garbage – it just straps to your spare tire holder! For extra points, take a few minutes to pick up any trash that less conscious travelers have left at your campsite.

We’ve done a lot of work to our Subaru and I can imagine that reading this could seem overwhelming.
It took months of research, planning, and designing to make this happen. But fear not: You don’t have to do this alone! Overlanding has exploded in popularity on the past few years and there are companies whose sole purpose is to help you with design, plan, and execute your build.
That being said, you don’t have to do all this. The point is just to get out there! Overland Bound is a great resource if you’re hoping to get into overlanding – they’re a super inclusive and supportive community designed to help folks explore the outdoors, regardless of what you drive.
You don’t have to have the perfect car or the perfect gear (I mean, on the spectrum of overland vehicles, our setup is still pretty basic!). You just need a sense of adventure and a willingness to go for it.
And if you’d like help getting your vehicle road-trip ready with some of the modifications we’ve made, get in touch with us.
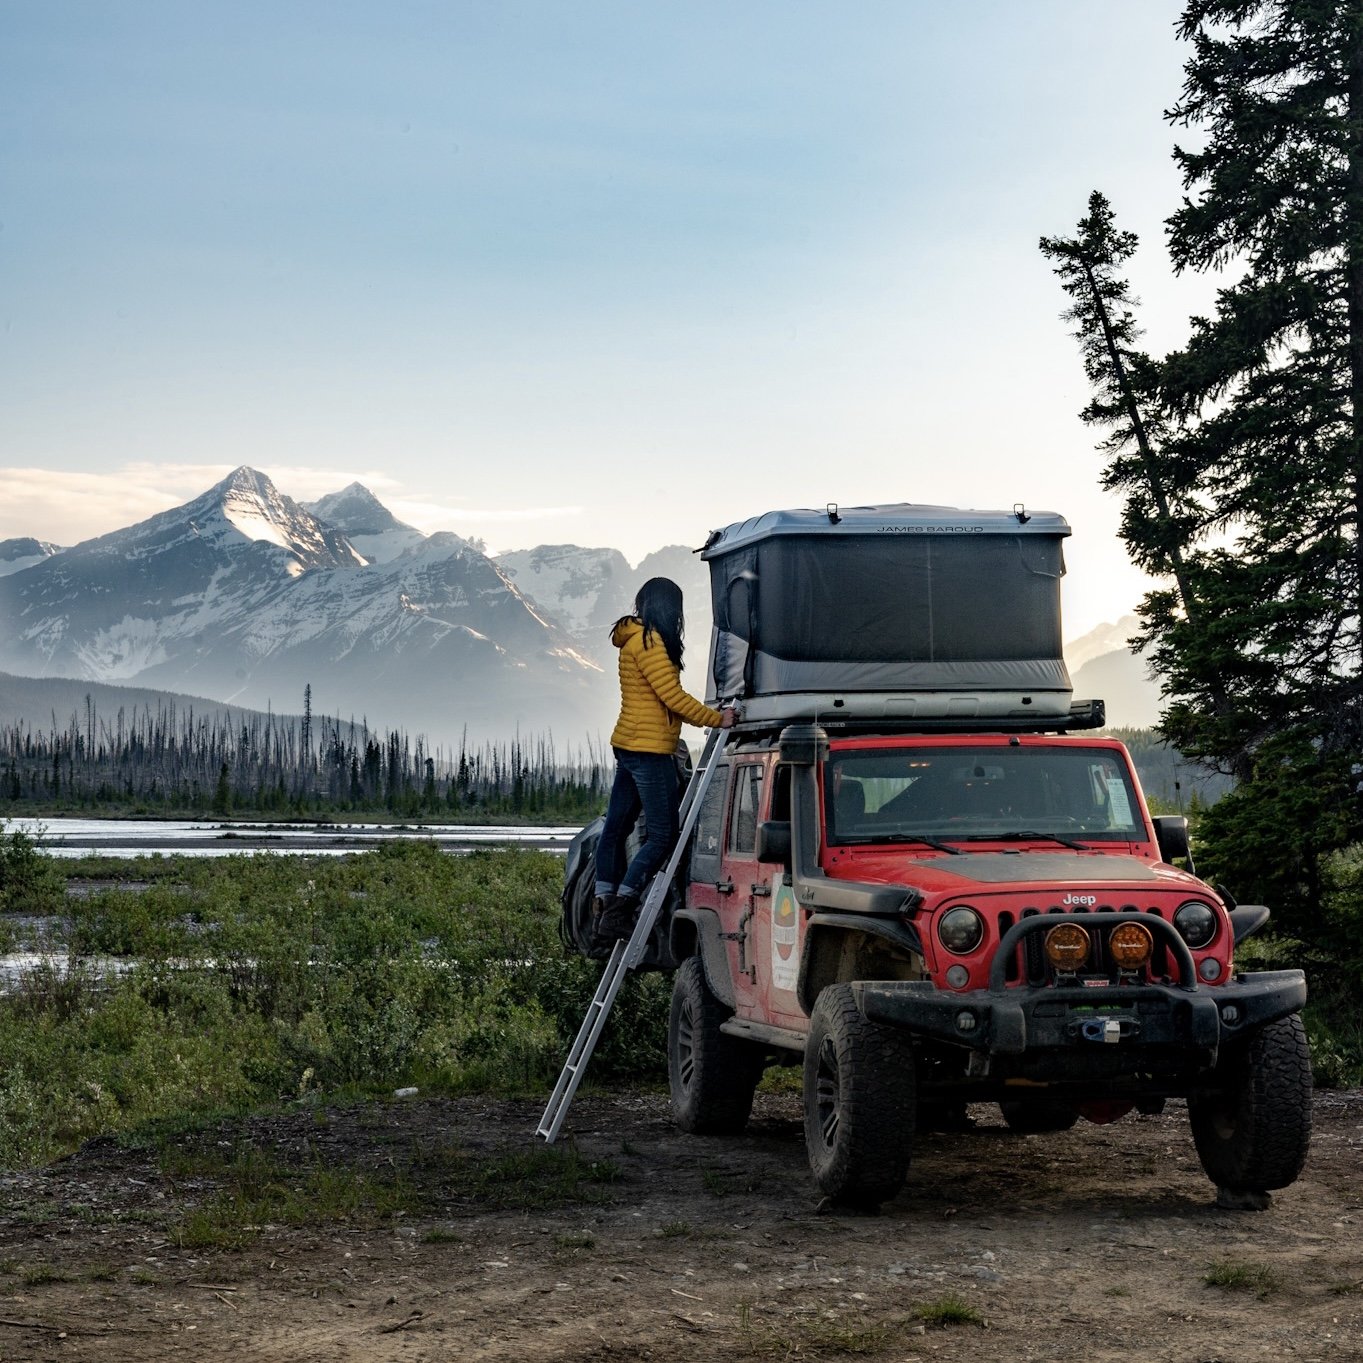
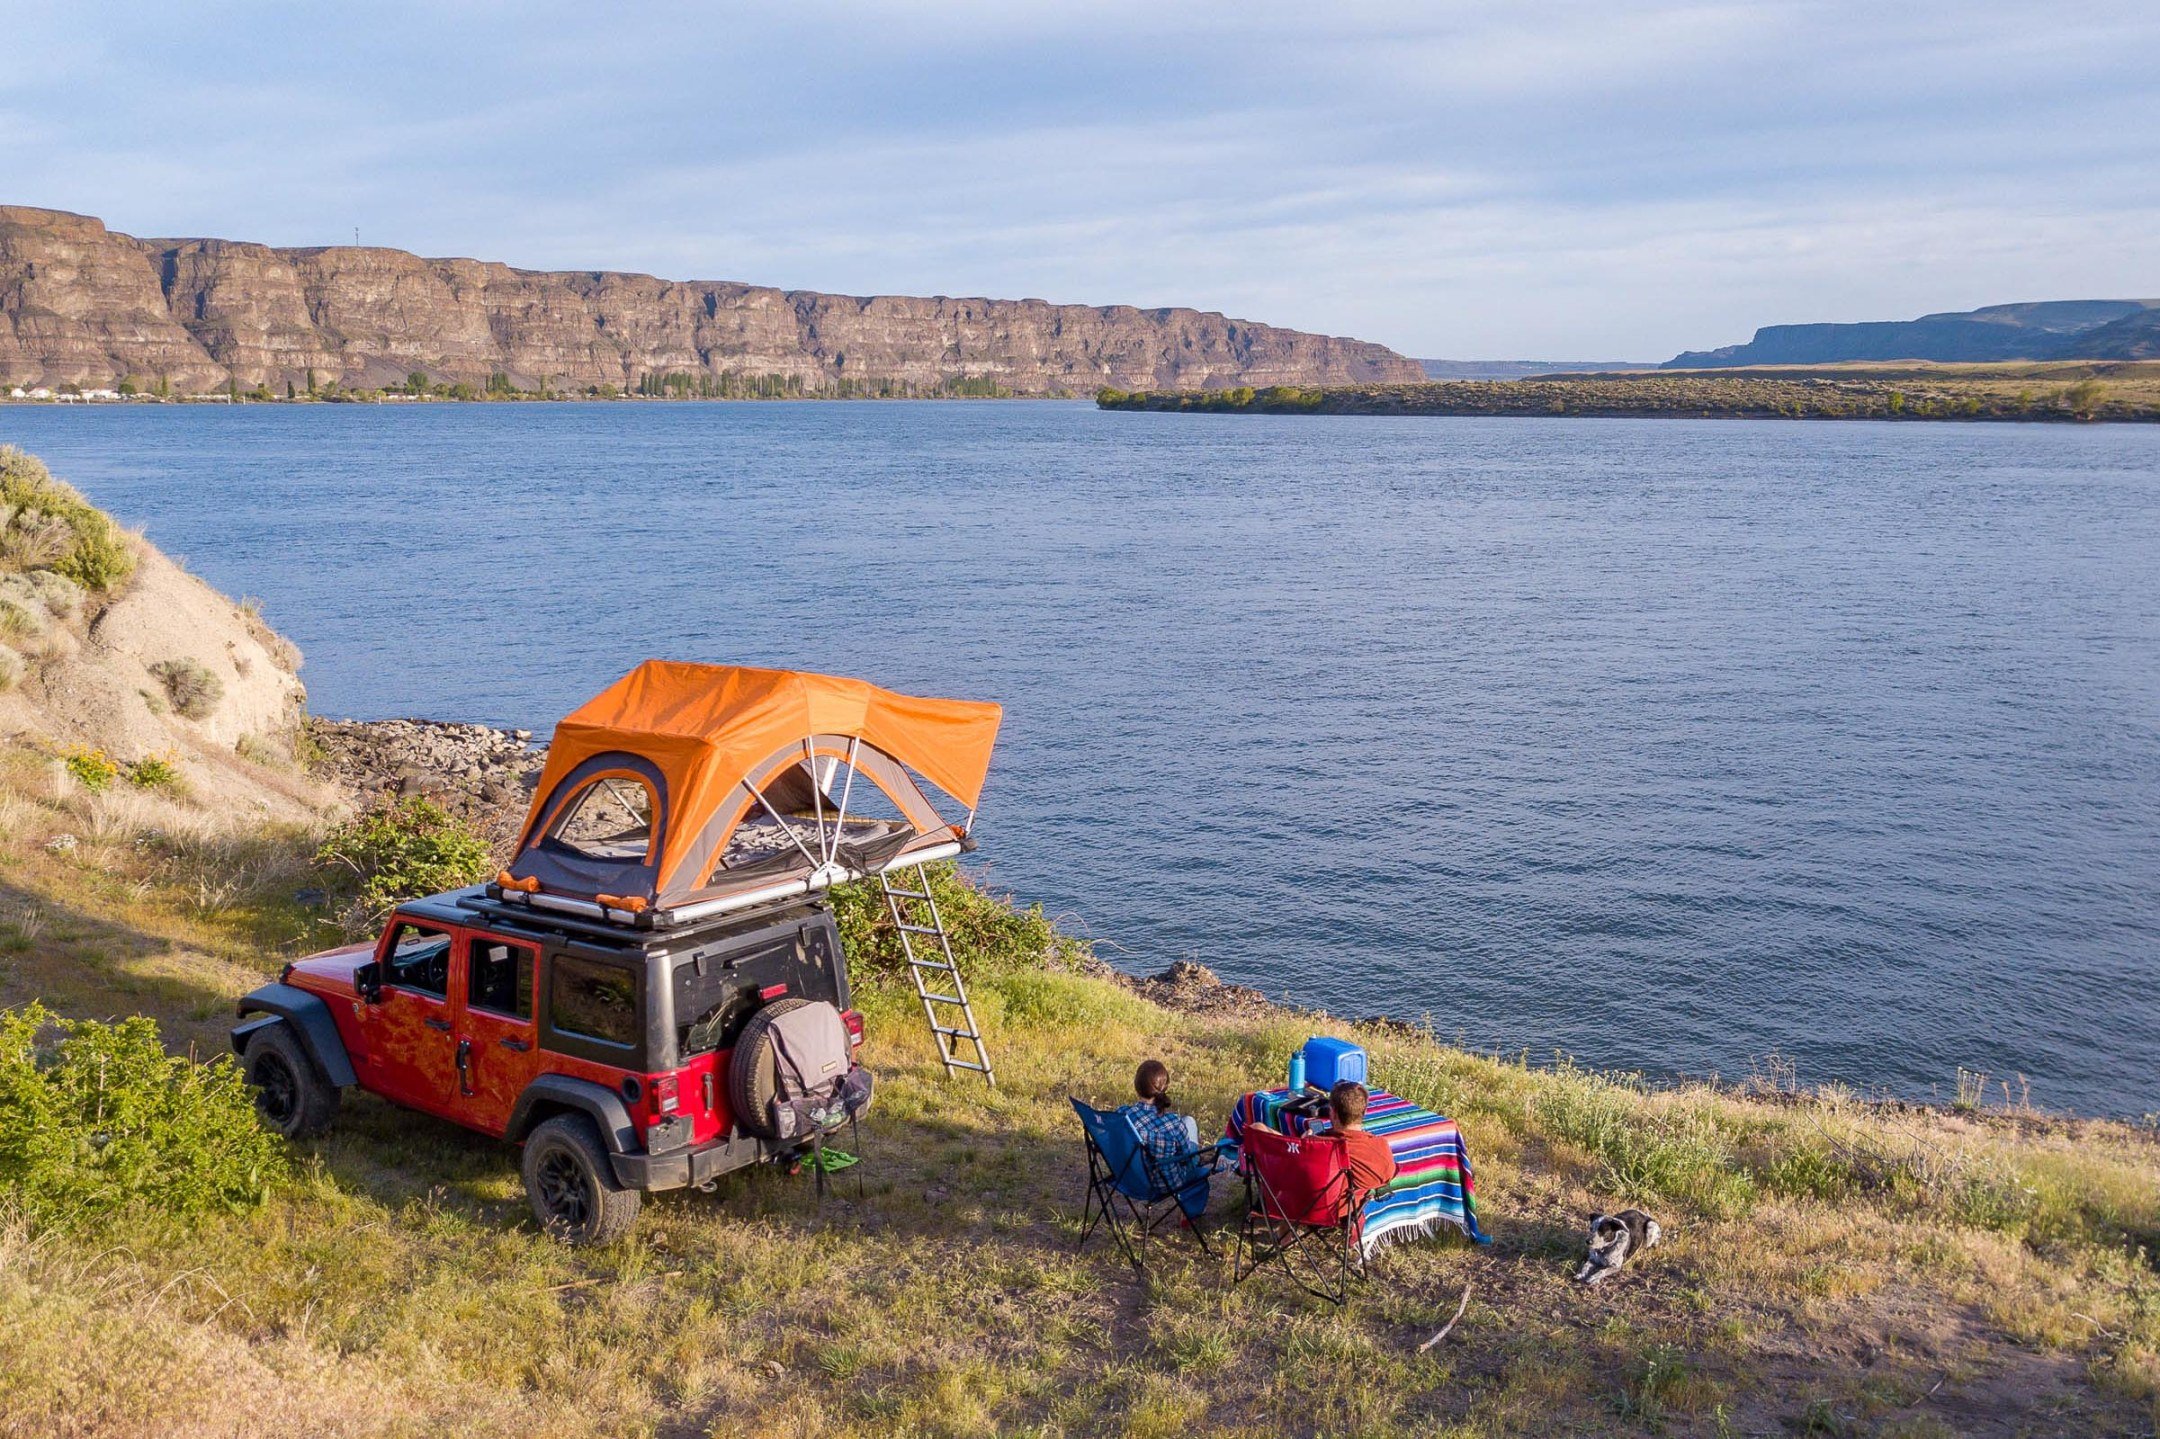
Next project: After a couple years adventuring in our Subaru, we recently invested in a Jeep! Check out all the details on our Jeep overland build.
You Might Also Like:


This post may contain affiliate links. If you make a purchase through our links, we get a small commission at no cost to you. This helps with the cost of keeping this site running – so thank you for clicking through! Don’t worry, we won’t recommend anything we don’t fully believe in.