
All the Details of Our Jeep Overland Build
After purchasing this used Wrangler stock, getting our Jeep overland ready was a labor of love. We’ve gotten lots of questions from other Jeep overlanders (or folks considering it) so we wanted to share our experience to help others out with your own builds!
If you’re just starting out with your Jeep overland build, keep in mind that you don’t need to do all this at once (we didn’t!). We tried to organize this list from most to least essential. Figure out what’s most important to you and fits in your budget, and just get on the road with that.
Read on for every detail of how we modified our stock Wrangler into a kick-ass Jeep camper!
Jeep Overland Build: Exterior Essentials
All-Terrain Tires
If you ask us, the most important modification you should make to get your Jeep overland ready is to upgrade its tires. This is literally where the rubber hits the road – the part of your Jeep camper that will get the most wear and tear.
You’ll want tougher tires with better traction than the stock Jeep tires offer. There are hundreds of different options out there, but after lots of research we swapped our stock 32″ tires for 34″ Cooper Discover AT3 XLTs.
Cost: Tires – $1400 from Discount Tire

Testing out our tires on Washington’s Olympic Peninsula
Lift Kit
If you’re planning to do any serious offroading in your overland Jeep, lifting it will increase your ground clearance so you can get over obstacles more easily. For us, that’s a plus because we like to get away from the crowds to explore and camp where others can’t.
A lift also enables our Jeep camper to carry more weight (due to stiffer and taller springs) so when we’re fully loaded for an overland trip we don’t have to worry about bottoming out.
We went with a 2.5″ ARB Old Man Emu lift. There are plenty of less expensive choices out there, but remember – you get what you pay for. ARB’s kit is specifically designed for overlanding and they’re the gold standard worldwide. Plus they’re easily available anywhere in the world, so if we end up needing parts on a long overland trip in Africa or South America, we’re more likely to be able to get what we need.
Cost: $950 (Not including labor costs for installing it. Aaron is one of those handy people who can watch a YouTube video and then do anything himself, but if that’s not you then head over to your local 4×4 shop!)
Constantly standing on the roof thanks to our Rhino Rack
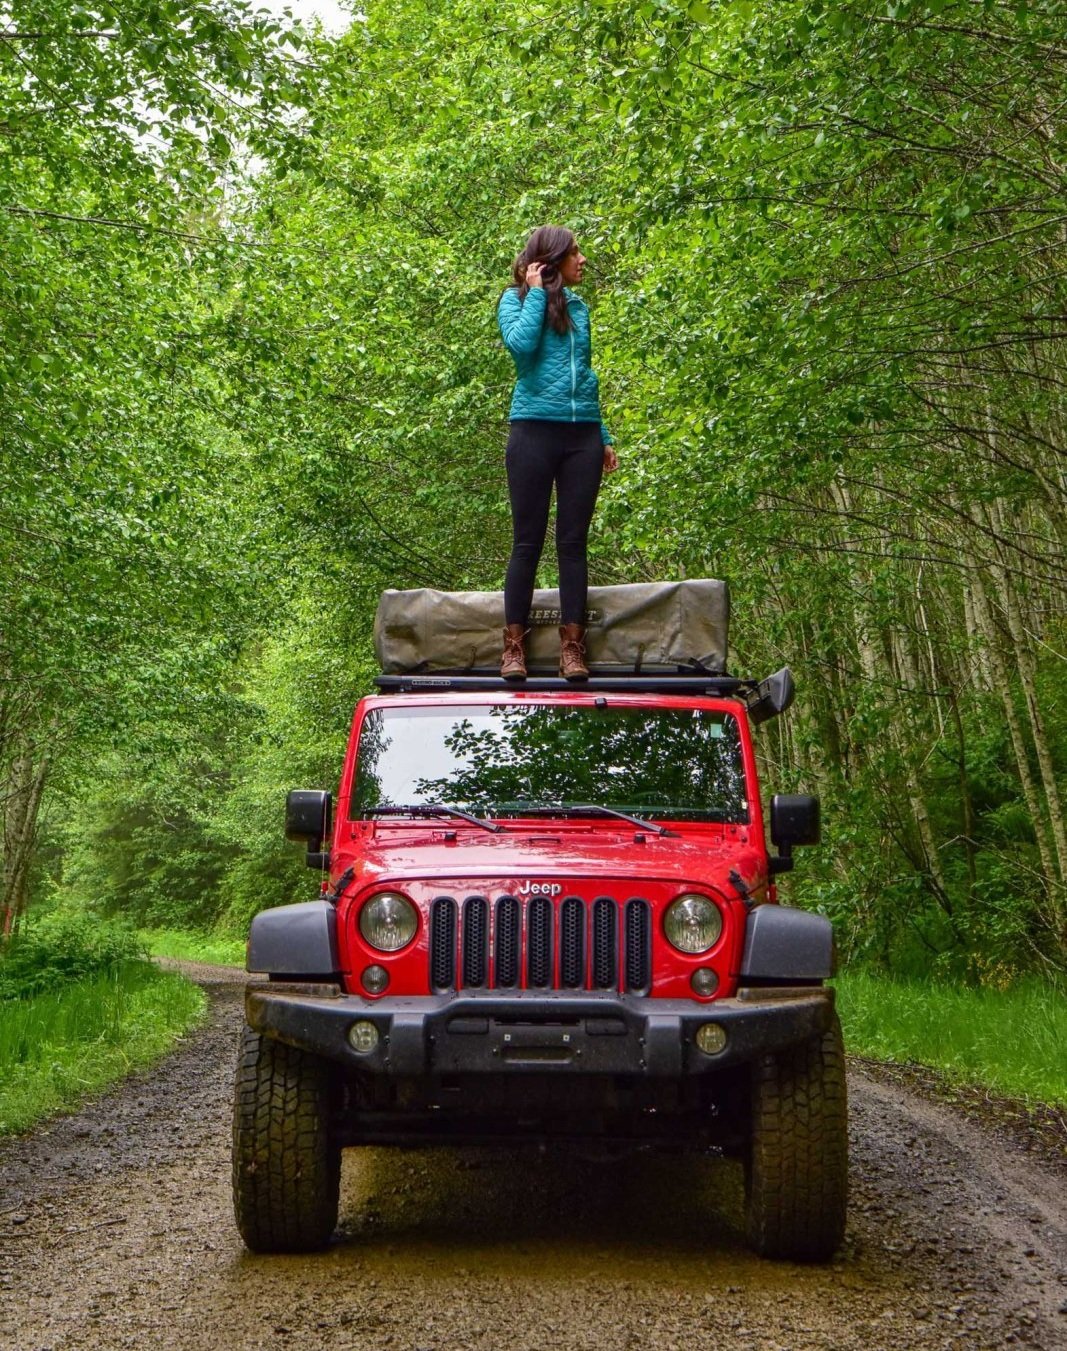
Roof Rack
If you’re planning to live out of a rooftop tent like we do, a quality roof rack is mandatory. We have the Rhino Rack Backbone system because it’s one of the strongest options out there (it can hold up to 800 pounds) and it mounts to the body of the Jeep so the weight doesn’t stress the fiberglass roof. Plus it has a platform with channels on top, so you can mount just about anything up there.
Cost: $1287 (Again, it needs to be installed by someone who knows what they’re doing so factor in that cost if needed.)
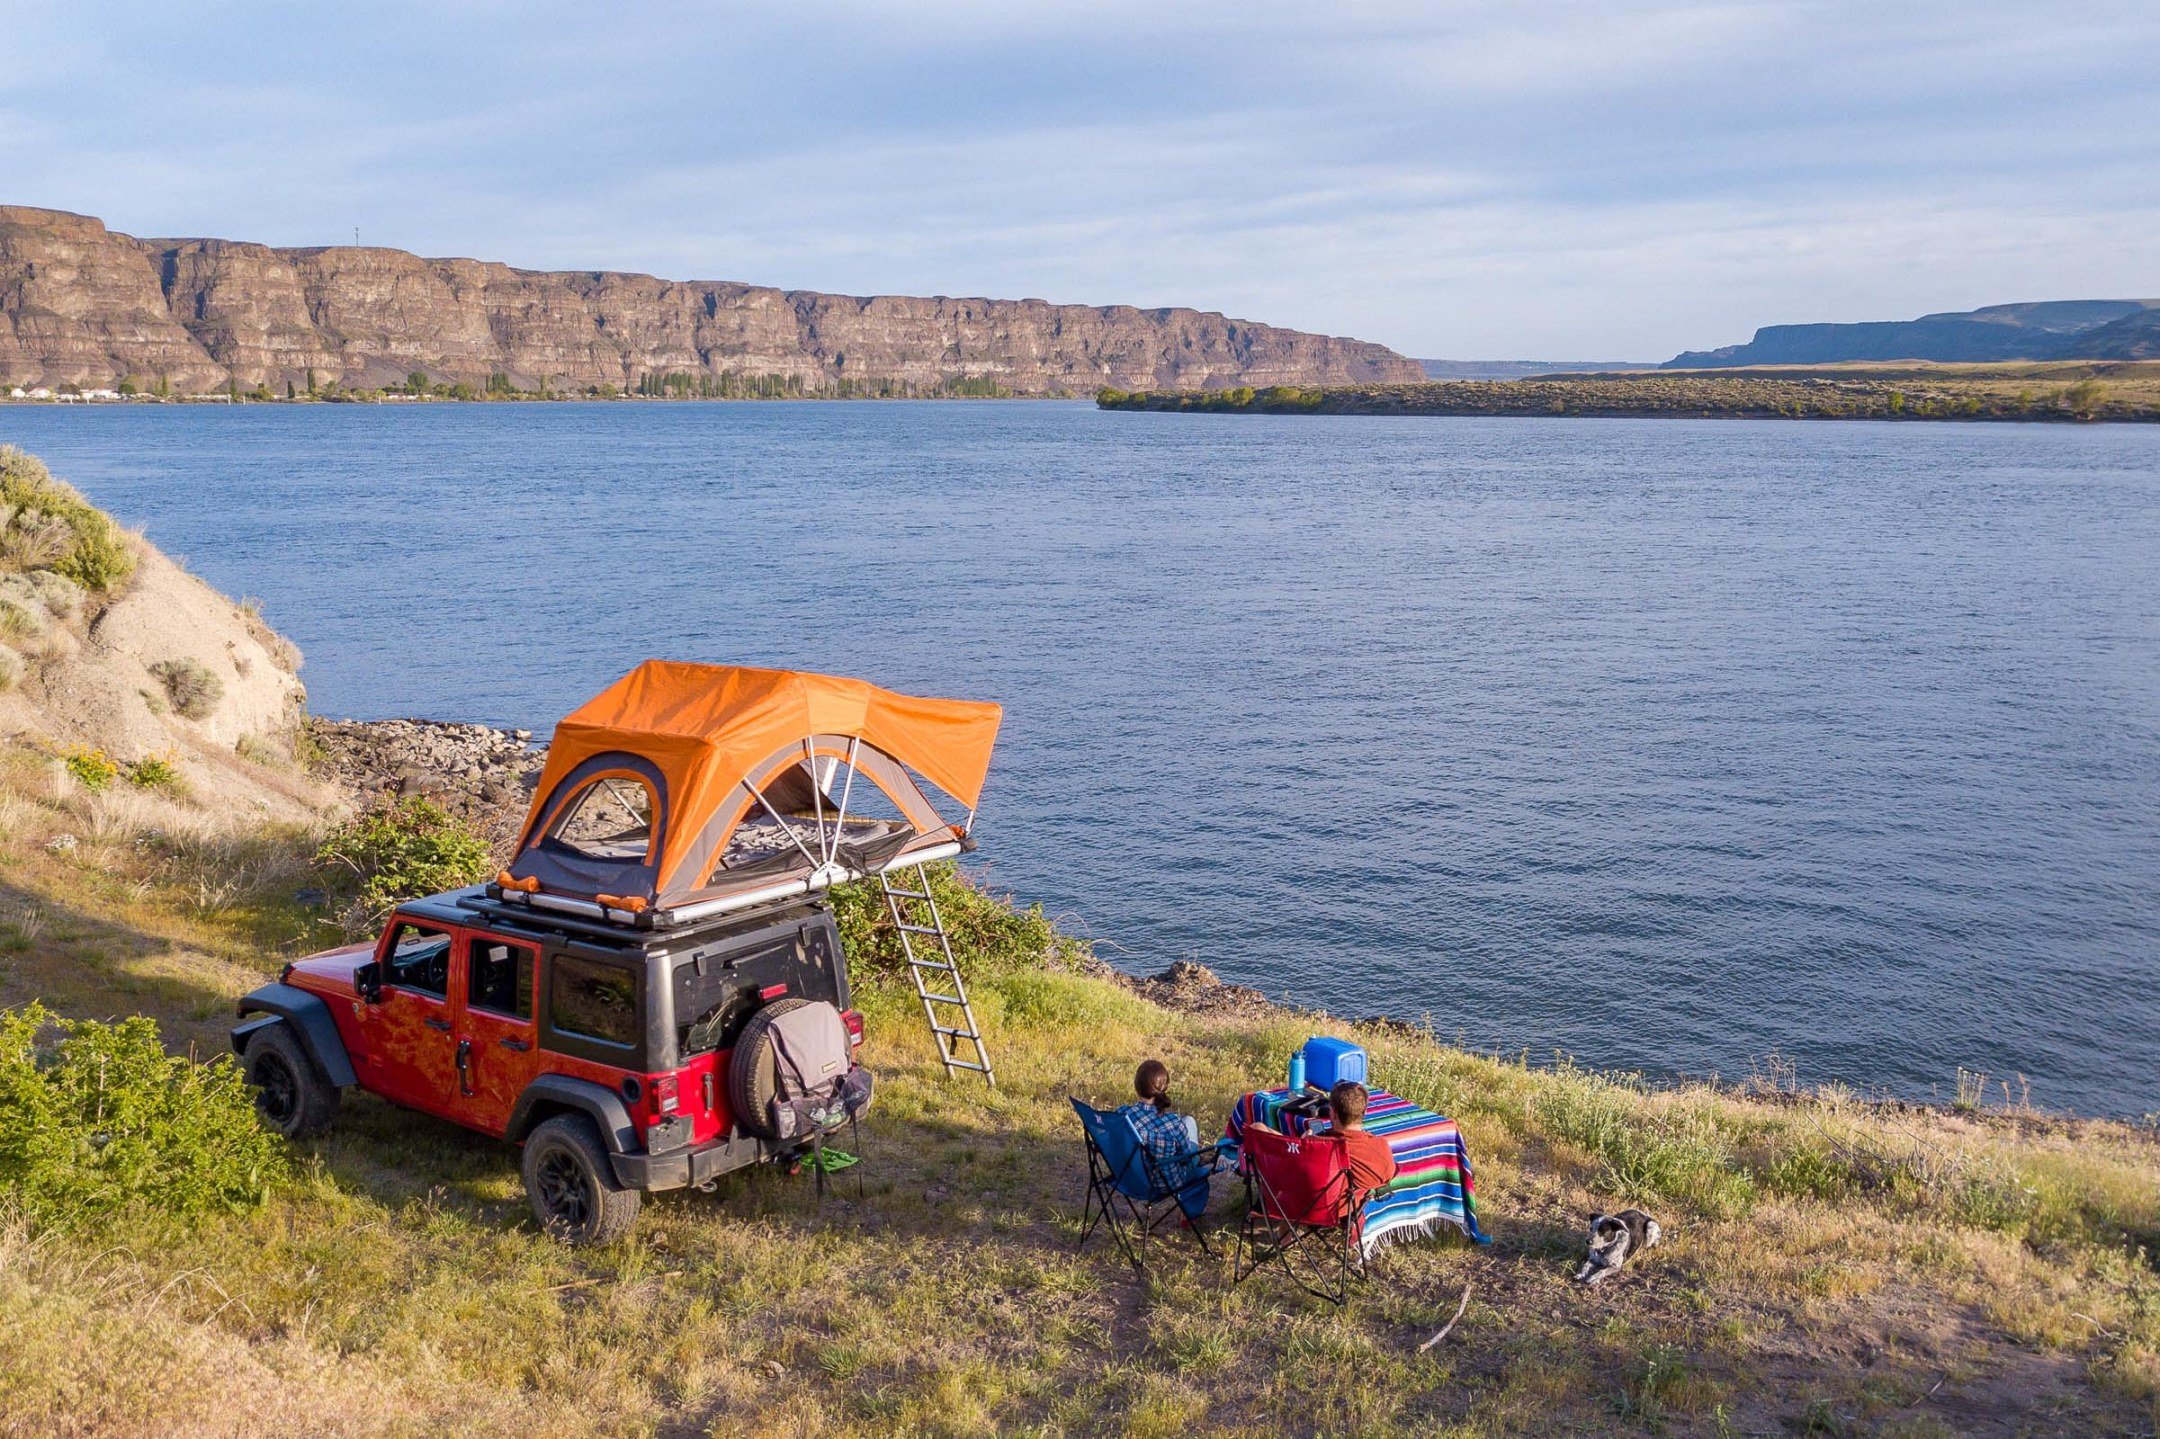
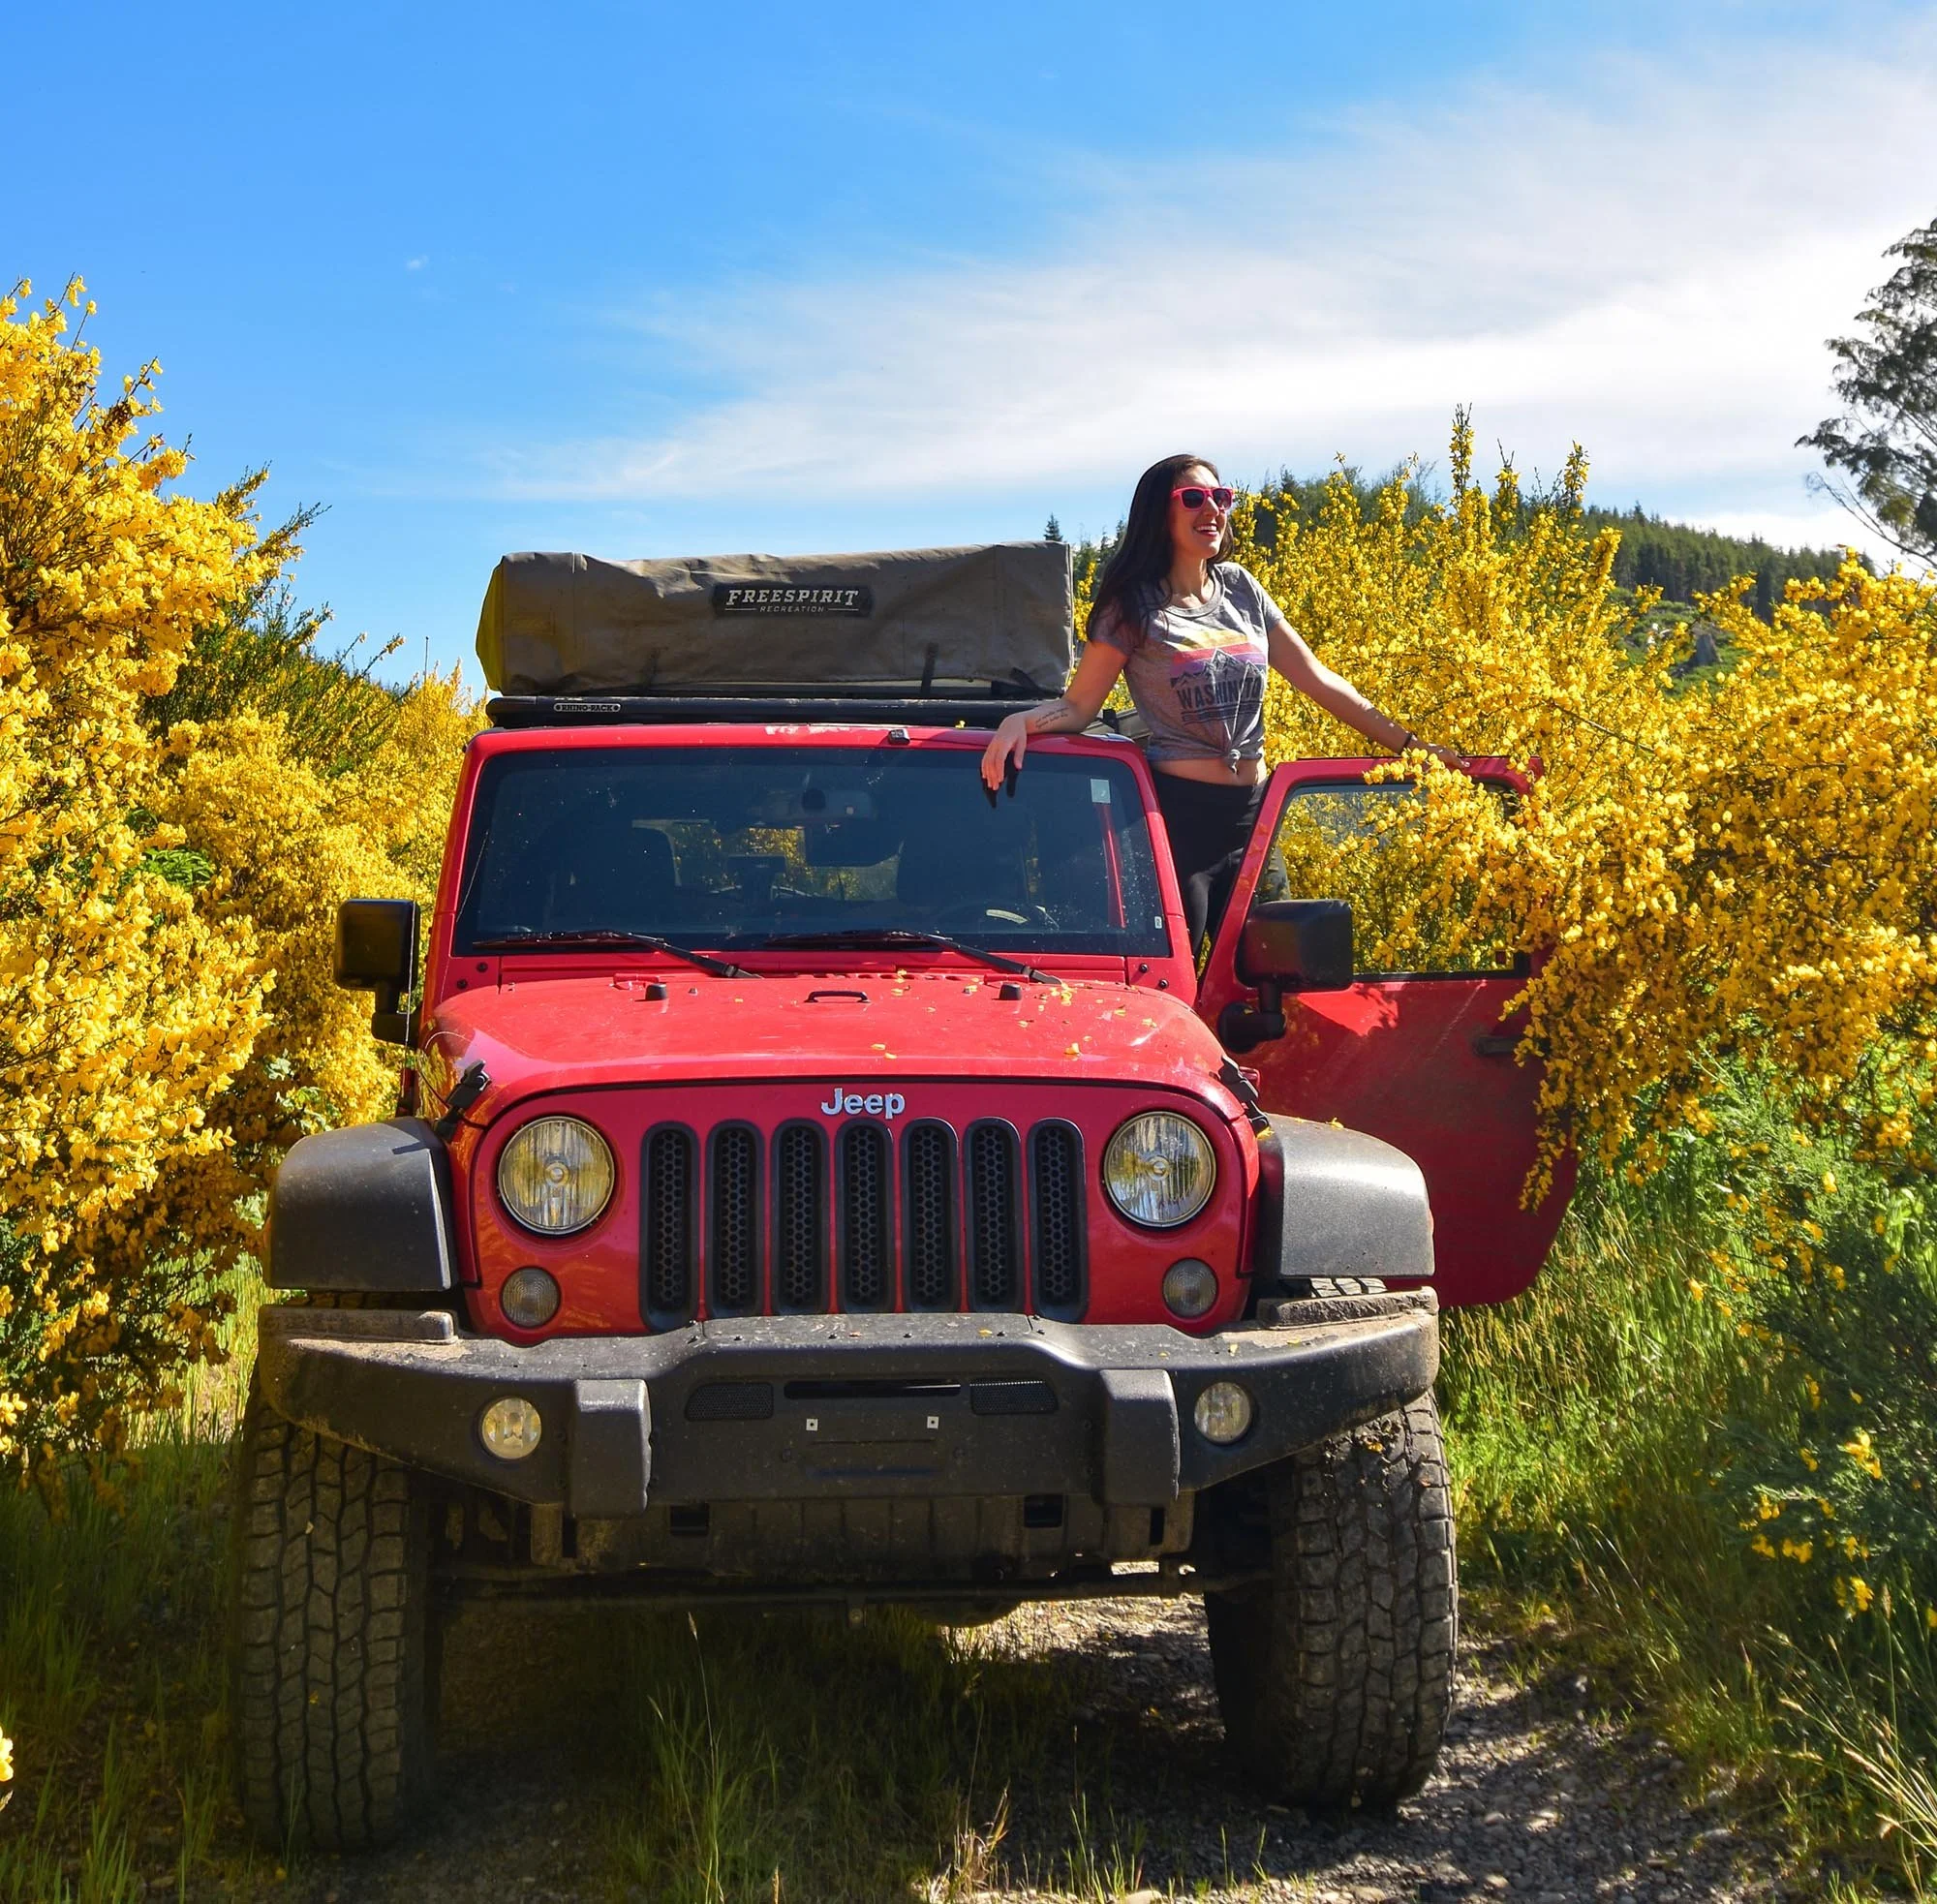
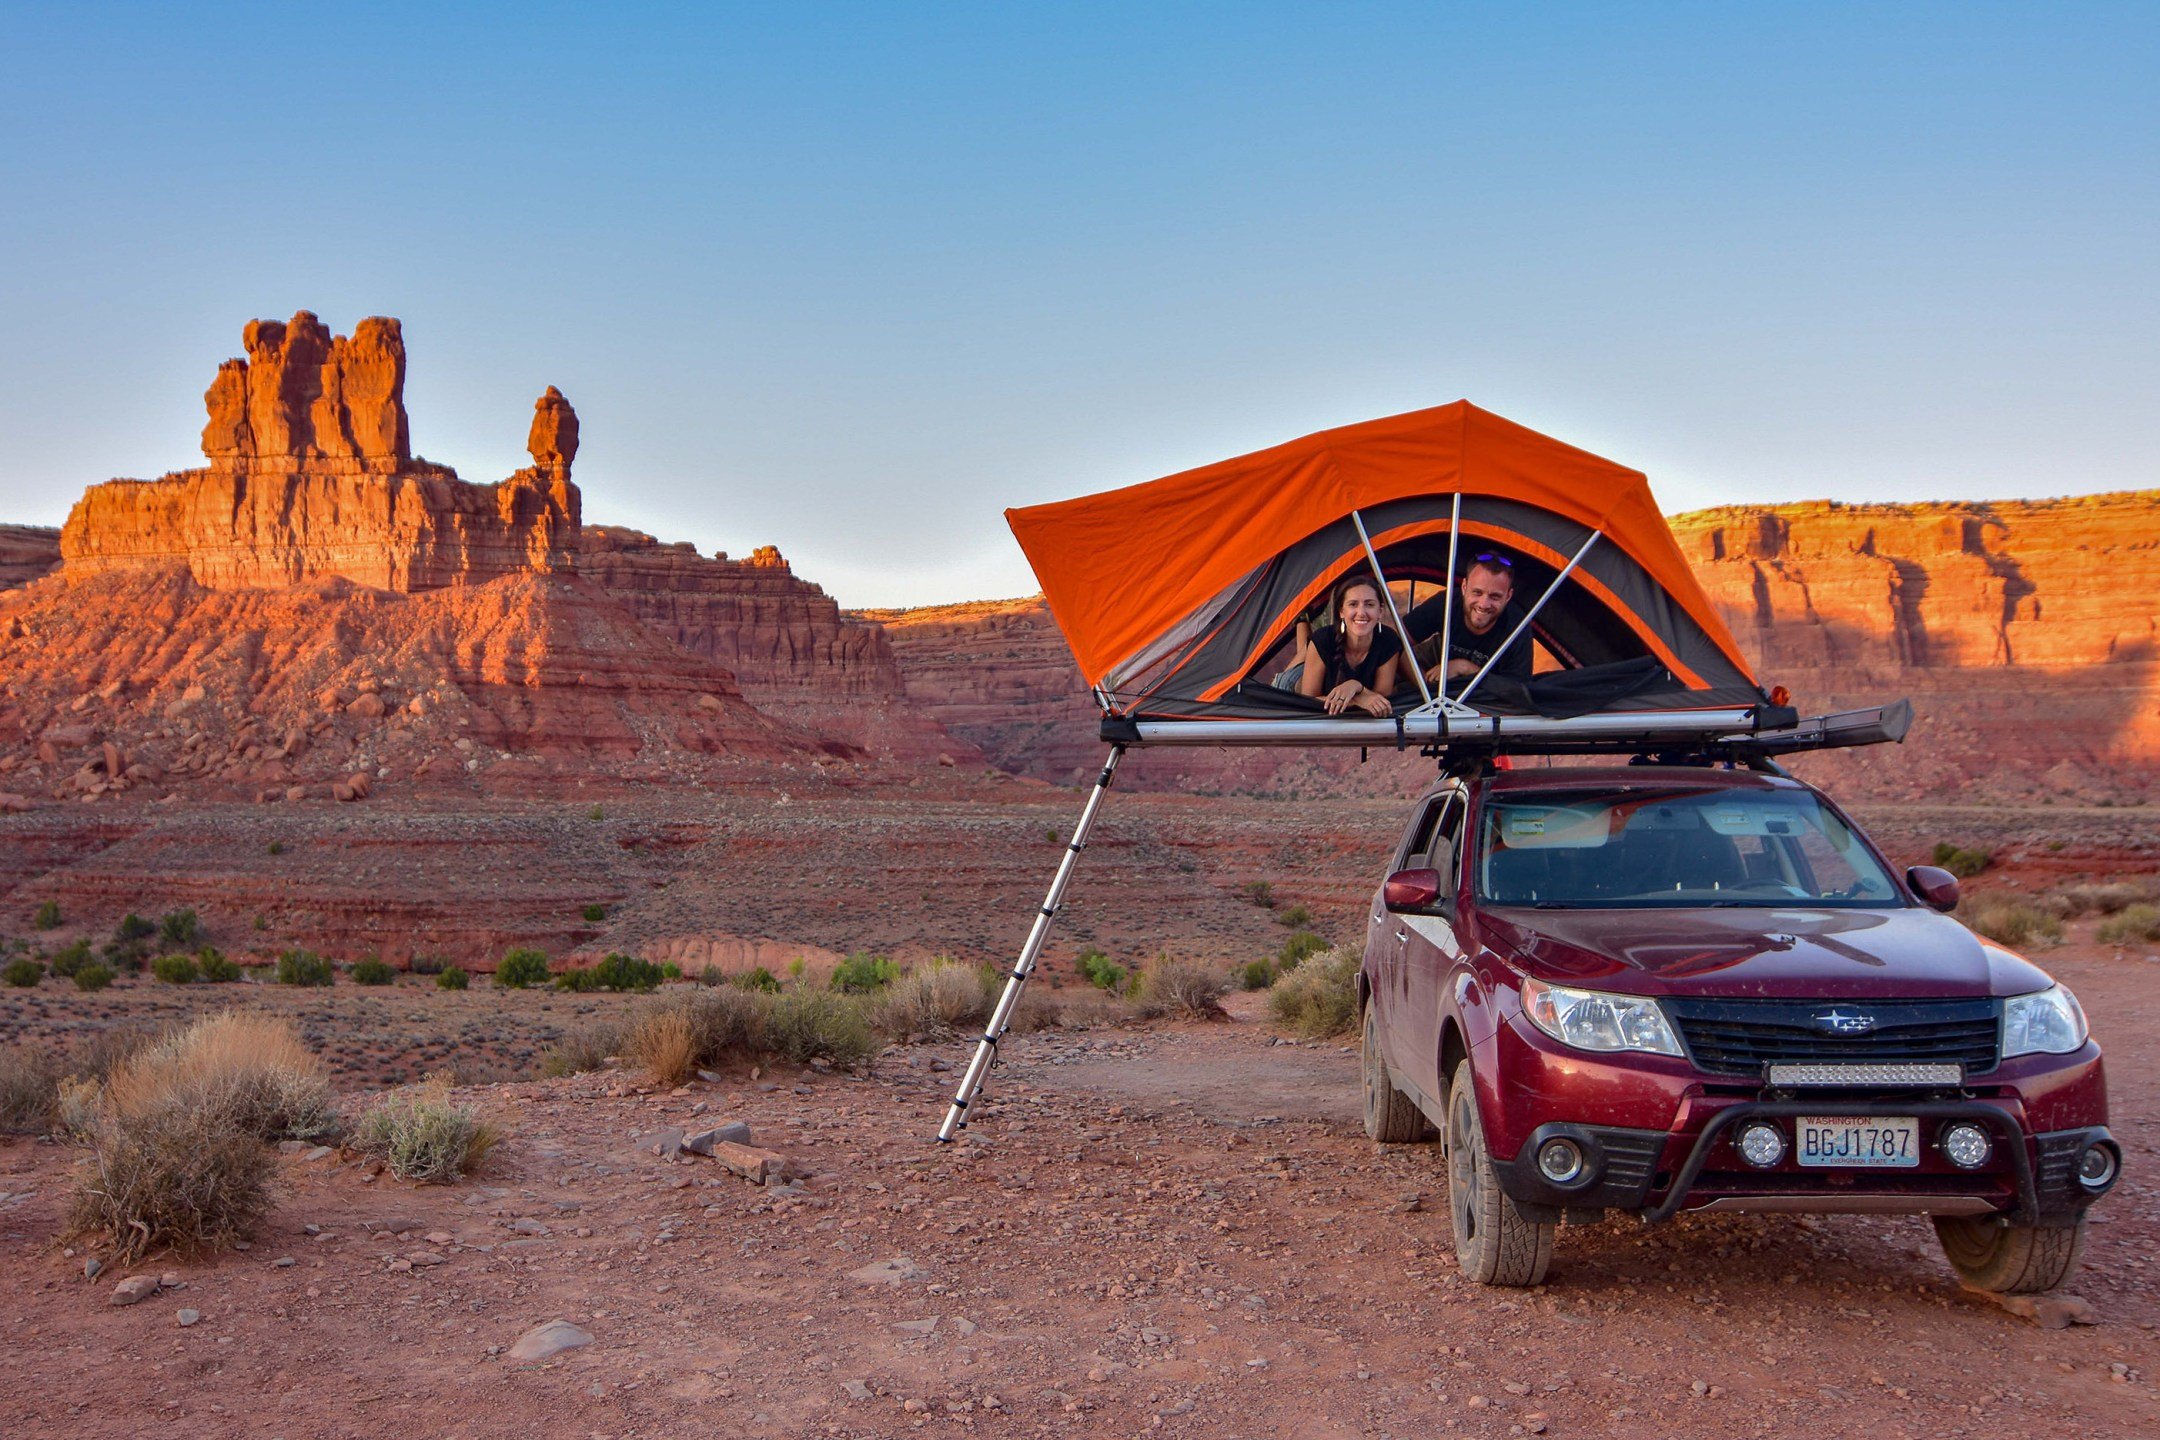
Rooftop Tent
Honestly, this is what started our whole overland journey – meeting some folks safari-ing in Tanzania with a rooftop tent several years ago. Now we probably love sleeping in ours more than in our own bed!
We did a TON of research and went with the High Country 55-inch rooftop tent from Freespirit Recreation. It clamps onto our Jeep’s roof rack and takes less than two minutes to set up. We just remove the cover and unfold the tent by pulling on the ladder. (Check out a video of us setting it up on our Subaru here).
Cost: $1795 (Give or take. You can get a rooftop tents for a little less, or waayy more if you want a super fancy one.)

We’re in love with our rooftop tent from Freespirit Recreation.
Upgrade Rear Bumper and Tire Carrier
Once we swapped out for larger tires, the size and weight was too much for our Jeep’s stock tire carrier. We also wanted to be able to carry extra water and fuel on our rear bumper, so we needed a setup that could handle that load. Replacing the plastic stock bumper with steel also makes it way tougher. Final bonus: Our bumper came with two recovery points, so we have easy-access spots to attach a winch line if we ever get stuck.
We went with this one because the spare tire carrier is attached to the bumper and the tailgate, so it all opens as one (rather than having to swing out the tire carrier and then open the tailgate separately).
Cost: $489. Again, Aaron installed this himself so we were able to save on labor costs.
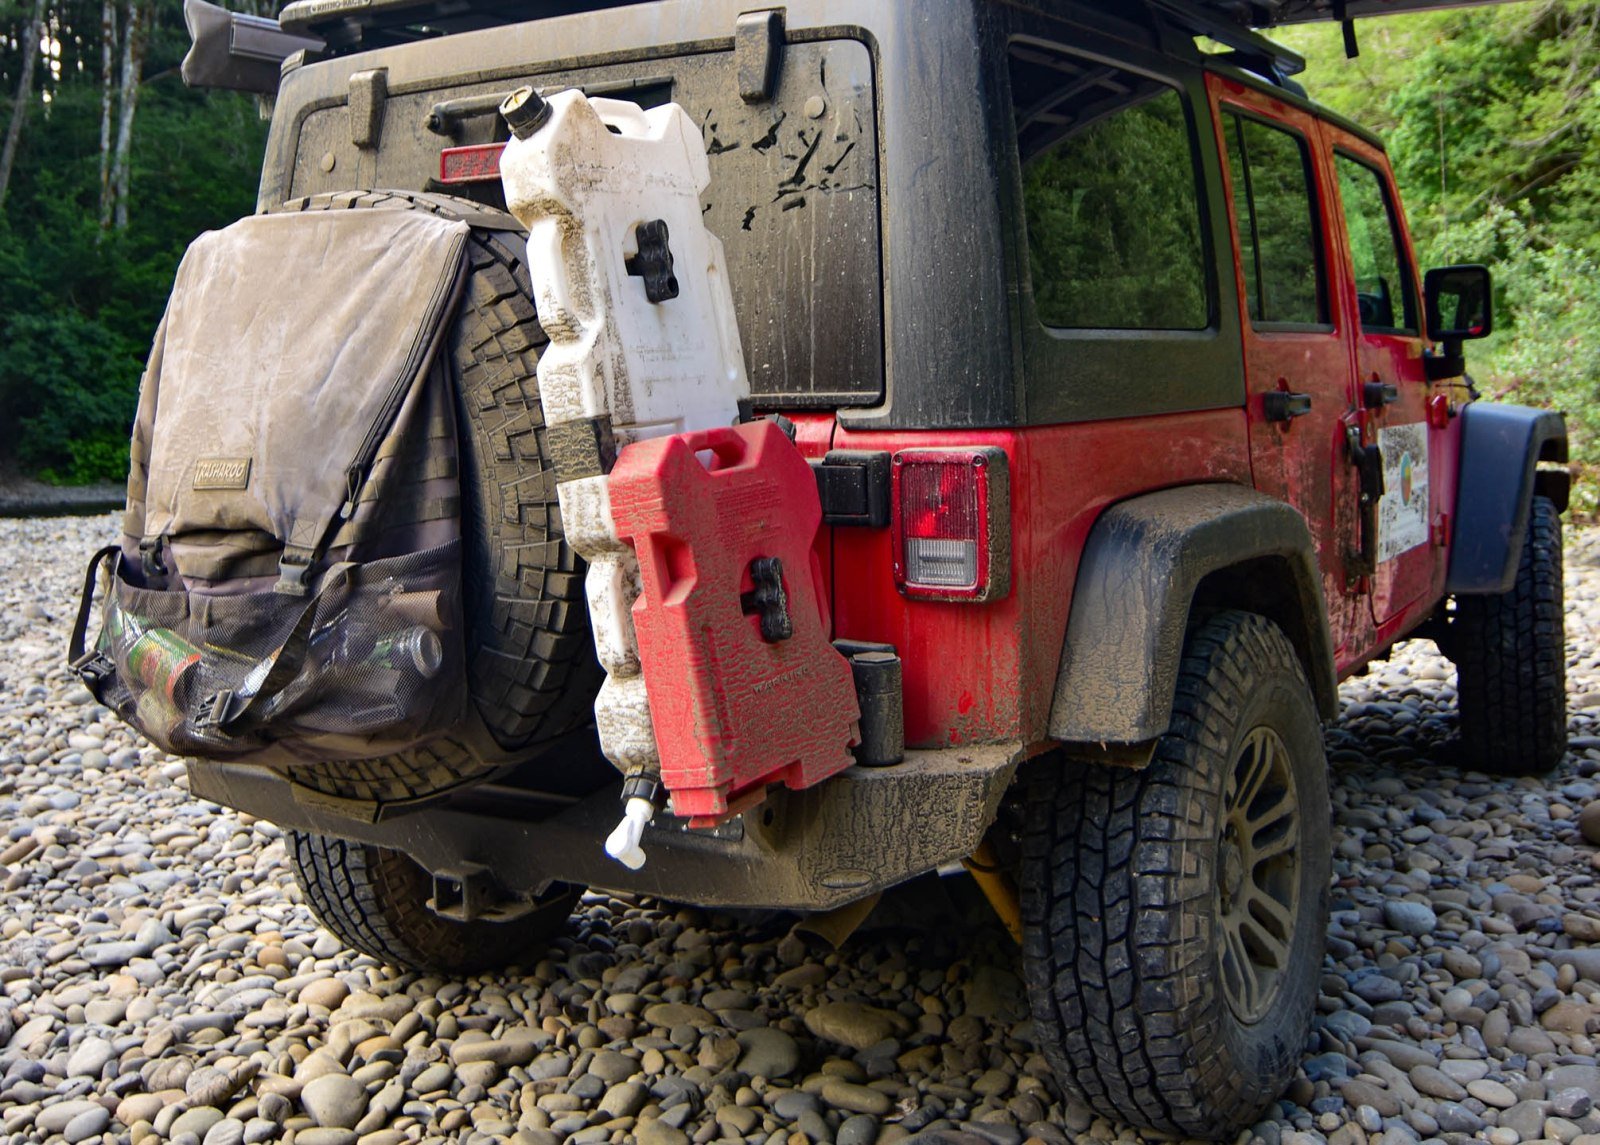
Our upgraded rear bumper and Rotofpax fuel and water containers after a good day on the road
Water and Fuel Storage
We sometimes camp off the beaten path for days at a time, so it’s essential for us to carry extra water and fuel. We’ve been through several storage iterations and finally landed on Rotopax, which are heavy-duty interlocking plastic containers (here’s how they work). We mounted them to our spare tire carrier using this kit.
We have four two-gallon containers – two for gas and two for water. To make the water container easier to use, Aaron attached a spigot that he picked up from REI.
Cost: $80 per fuel container, $57 per water container.
Rock Sliders and/or Steps
Truth: I really like to climb all over our Jeep camper. Now that it’s lifted, it’s a struggle to get on the roof (and sometimes even into the car!) without a bit of a leg up. But our steps do more than that – they also protect the body of the car when we’re driving over rocks or other obstacles (and from door dings in parking lots when our overland Jeep is out of its natural environment).
We went with Smittybilt SRC Classic Rock Rails because they’re rock sliders and steps in one (not all sliders come with a step).
Cost: $289 on sale through Northridge 4×4
Replace Front Bumper
Aaron had been lusting after this front bumper since we started our Jeep overland build – but we knew it was non-essential and way out of our budget. Then, while scrolling through one of our local Jeep Facebook groups one day, he stumbled upon someone selling exactly this bumper for a screaming deal.
This solid steel bumper protects the front of our Jeep better than the stock plastic one, and it has recovery points just like the rear bumper we installed. It also gives us the ability to mount a winch (in the distant future when we can afford one…). This bumper also sits higher above the tires than the stock one, so it improves our approach angle.
Cost: $90 from someone selling in a Jeep overland Facebook group (normally $1,215!!). There are tons of these groups and they’re a great community with lots of resources and knowledge.
Replacing the front bumper wasn’t in our budget but we found one for a killer deal in a Jeep Facebook group!
Awning
Also made by ARB, our awning attaches to our roof rack. We don’t open it up at every campsite, but it’s great to have on rainy or scorching hot days.
Cost: $273
Wheels (if you want)
You can absolutely keep your stock wheels! We happened to stumble across some for free from a friend, so we swapped ours out. This is low on the list because we don’t recommend spending your hard-earned cash on it unless you really want to.
If for some reason you do want to go for super large tires (35″ or more), you’ll want to chat with the folks at your local tire shop about changing wheels to accommodate them. (This is pretty technical so shoot us an email if you want to know more about it.)
Cost: Free from a friend we met in a Jeep overland Facebook group. (In case you haven’t noticed yet, these groups are awesome! Just do a search on Facebook and you’ll find plenty.)
Jeep Camper: Interior Details
Since we upgraded from a Subaru Forester camper into this overland Jeep, we moved a lot of our previous modifications straight from one vehicle to the other – so check out that post for even more details!
Storage
Aaron could live by just throwing everything in a pile in the back of the Jeep, but I need organization! So he kindly built us two large drawers for storing our clothes. A quick trip to Home Depot will get you everything you need – scrap plywood, drawer slides, outdoor carpeting, and a few pieces of hardware.
If you’re not much of a builder, you can just as easily pick up a few stackable containers from Target. Custom Jeep drawer systems are also available if you have money to burn. All that really matters is figuring out a system that works for you!
Cost: $70

Storage drawers handmade by Aaron
Refrigerator
You could certainly get by with a cooler on shorter trips, but after long days in the Utah sun we LOVE our ARB 37-Quart Fridge/Freezer. It uses an incredibly small amount of battery power, which is great since it runs off the solar panels attached to our spare car battery.
If you (like us) love a cold beer after a long hike, a quality fridge is a great investment.
Cost: $150 (another great Craigslist find) but retails for about $1,000
Second Car Battery and Inverter
This isn’t essential, but it definitely improves our quality of life on the road! The extra battery allows us to stay out longer on overland trips, plus we can camp more comfortably in any temperature. We use it to power our camp lights, heated mattress pad on cold nights, and refrigerator on hot days (see below for more info on our fridge).
You can read more details about how to install a spare battery in our Subaru camper post.
Cost: $50 for the battery (thank you, Craigslist!) and $70 for the inverter

Our false floor (with spare battery hidden underneath) and refrigerator bolted in above.
False Floor
Instead of balancing our refrigerator on the seats, losing things in the footwells, and making our pup scramble to find herself a comfortable spot, we now have a sturdy, flat platform covering the whole backseat area. Step one in constructing our false floor was to remove both rear seats. We only travel as a couple (plus our pup, Jude) so it made sense to sacrifice the seats to have more storage space.
Aaron built our false floor himself with half-inch plywood and stain resistant carpeting from Home Depot. There’s a bit of room to store things underneath the platform (that’s where our spare battery, tools, and recovery equipment live). And on top is a great place for Jude’s bed while we’re on the road!
Cost: Around $65
Quality Radio
If you ask us, a killer radio is a must if you’re going to be spending days on end in your overland Jeep! We moved our Pioneer MVH-1400NEX stereo into the Jeep from our Subaru before we sold it. The radio comes with Apple CarPlay which allows us to display and control our iPhones on the car stereo screen. It makes navigating and playing music much easier and safer.
We also have satellite radio so we have endless music choices even when we’re way off the grid.
Cost: $350 for the car stereo. (Satellite radio is subscription-based.)
For Extra Fun: Jeep Overland Build Non-Essentials
We’re constantly adding little details to make our Jeep as fun and overland-ready as possible – these are some of our favorites. None of these will make or break your Jeep camper, but it’s the little things that make it feel like home.
Trash storage
It sucks to keep all your trash inside the car with you. We love our Trasharoo, which straps to the spare tire holder and has lots of room for garbage (we keep our recycling in the separate pockets and do our best to recycle everything we can). Be sure to take a few minutes to pick up any trash that less conscious travelers have left at your campsite!
Cost: $45
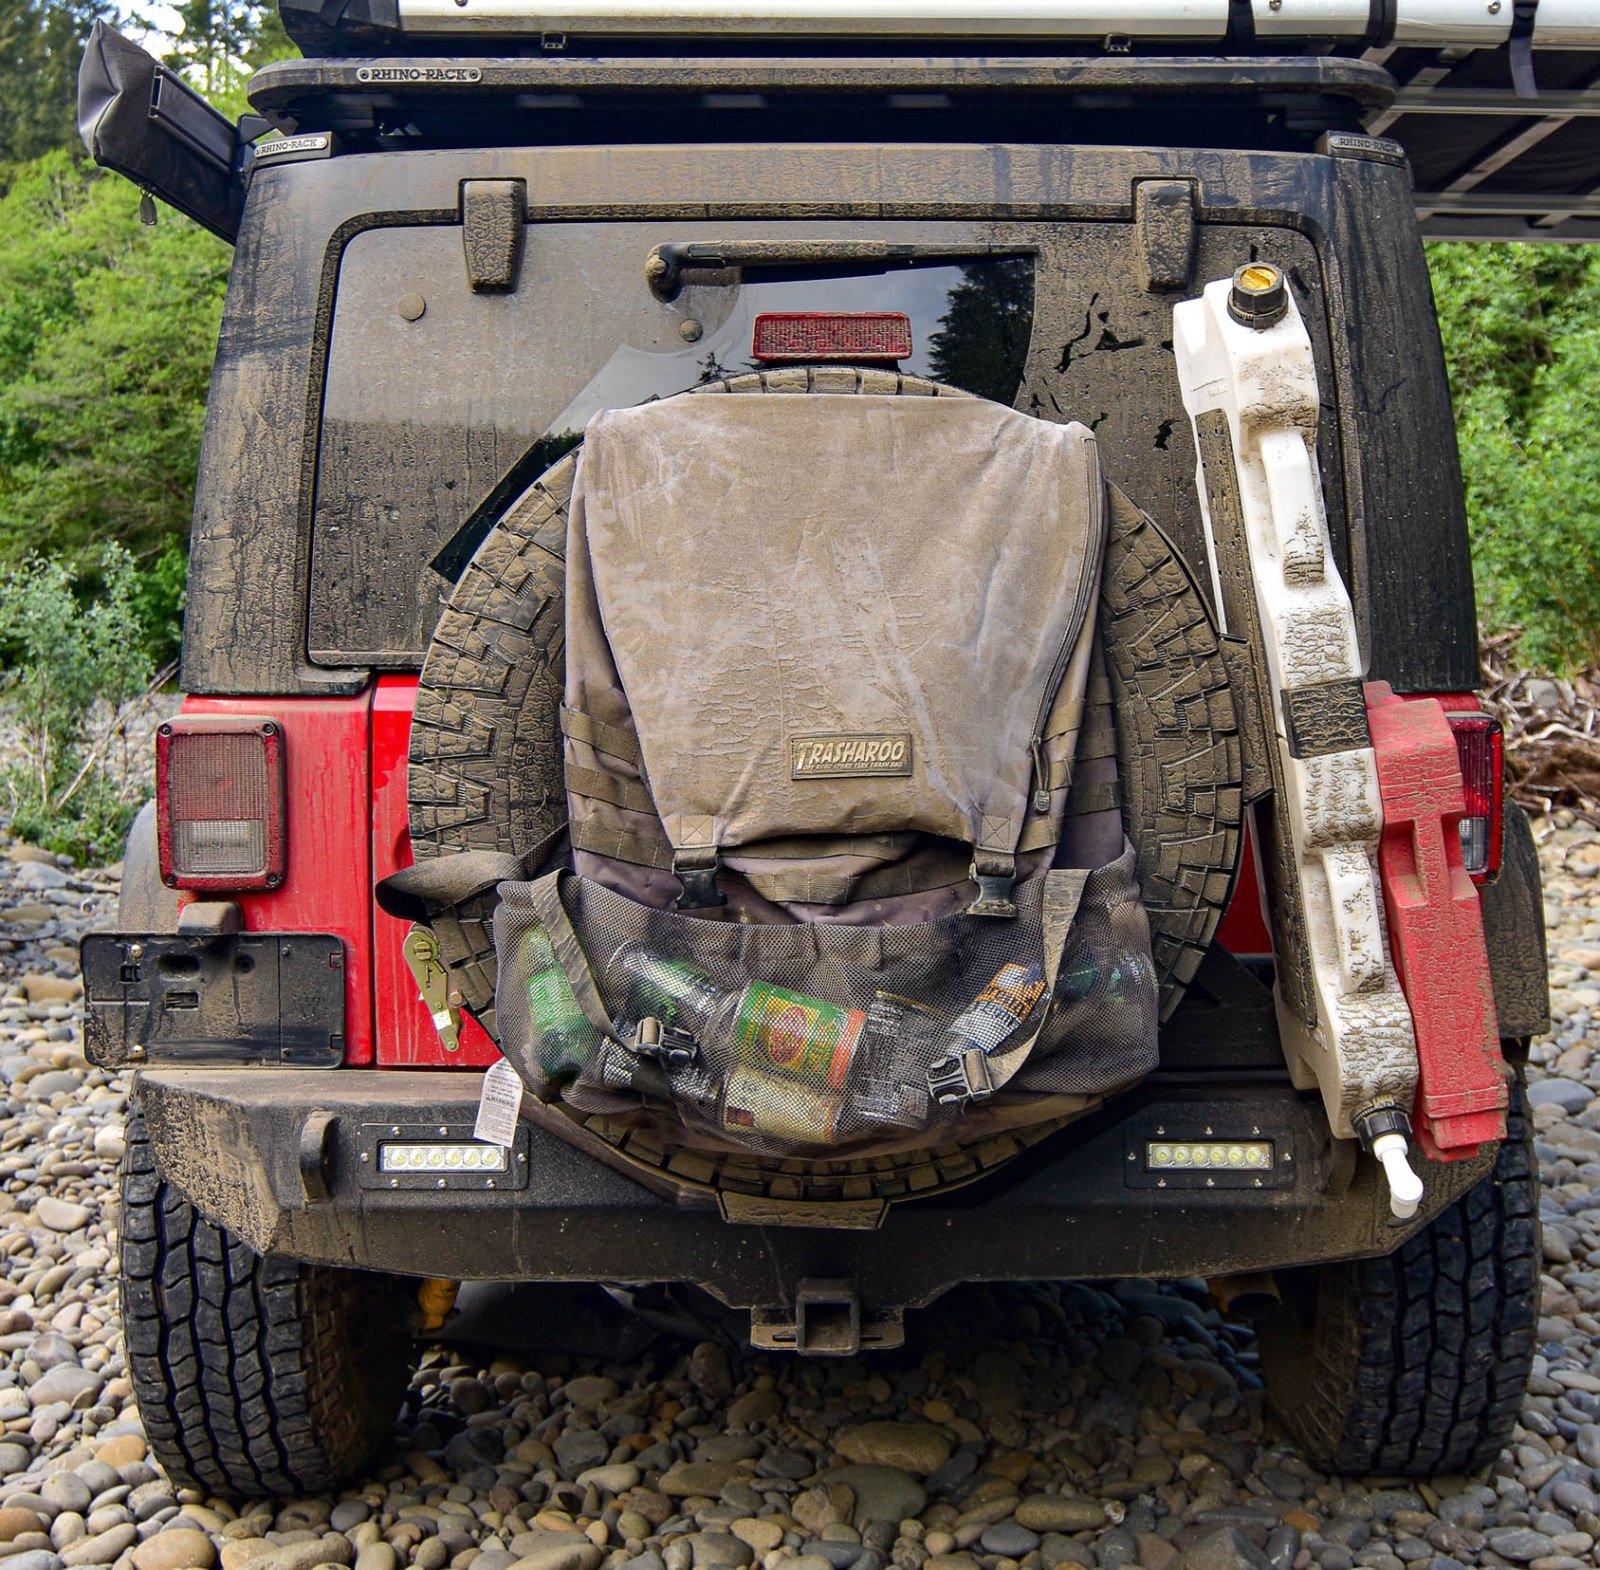
Our Trasharoo garbage container keeps the inside of our Jeep free from trash
Tailgate Table
We know this doesn’t apply to everyone, but we’re super low-maintenance about cooking. We do own a 3.5-foot foldable camping table, but most of the time we prefer to use this easy drop down tailgate table when we’re camping in our Jeep.
It attaches to the inside of the tailgate door and folds open with one pull when we want to use it. It also has an extra wooden tray that slides out from underneath to give us extra space for meal prep. This saves us lots of time and energy after a long day of hiking or driving!
Cost: $170

When it comes to cooking, we keep our kitchen simple
Hinge Steps
These steps attach to our Jeep’s door hinges about halfway down the door. They flip down and make an extra foothold to access our rooftop tent (or whatever you’re storing on your roof). They’re invaluable in helping us set up and take down our tent!
Cost: $97

Hinge steps help us easily gain access to the roof
Grab Handles
Because I tend to climb all over our Jeep, hang out the window, and just generally do things my mom would prefer I didn’t – these grab handles are a super sturdy point to hang on to (Or, as we call, them: “Oh, shit!” handles).
Cost: $35
Roll Bar Mount for Tools
I’m big on organization, in case you haven’t noticed. We love that we can store our jack, shovel, and axe on our roll bar with this mount. They’re out of the way most of the time but easily accessible when we need them.
Cost: $140

Keep it organized! Our jack holder and roof attic keep everything out of the way.
Jeep “Attic”
More storage! This cargo net hangs between roll bars behind the front seats, and it’s great for storing lightweight stuff. We keep our bedding in there so and stuff our jackets in for easy access. I love this addition because it opened up so much room on the floor of our Jeep.
Cost: $110
We hope this helped with your own Jeep overland build! Again, remember that you don’t need to do all of this at once. And there’s a great community of Jeep overlanders out there to bounce ideas off of. Check out Overland Bound for an inclusive group that supports overlanders (regardless of what you drive), and search on Facebook for local and national Jeep overland groups for even more inspiration.
Feel free to drop us a comment if you have questions! See you on the road.
You Might Also Like:


This post may contain affiliate links. If you make a purchase through our links, we get a small commission at no cost to you. This helps with the cost of keeping this site running – so thank you for clicking through! Don’t worry, we won’t recommend anything we don’t fully believe in.